Guide to Skin Self-Examinations: Effective Techniques for Detecting Skin Rashes
Learn how to perform a guide to skin self-examinations to detect rashes and lesions early, improving your skin health and aiding in early melanoma detection.

Estimated reading time: 7 minutes
Key Takeaways
- Early detection of melanoma through regular self-exams may improve outcomes.
- Follow a systematic, head-to-toe checklist using mirrors and good lighting.
- Apply the ABCDE rule (Asymmetry, Border, Color, Diameter, Evolving) to help identify suspicious moles.
- Document findings with photos or a dedicated skin tracking app.
- Seek professional advice promptly for any concerning signs (non-healing sores, rapid growth, bleeding).
Table of Contents
- Section 1: Understanding Skin Self-Examinations
- Section 2: Step-by-Step Guide to Skin Self-Examinations
- Section 3: Identifying Common Skin Rashes and Warning Signs
- Section 4: When to Seek Professional Advice
- Section 5: Additional Tips for Effective Self-Examinations
- Conclusion
- FAQ
Section 1: Understanding Skin Self-Examinations
A skin self-examination involves scanning every inch of your body—using both eyes, mirrors, and good lighting—to detect new or changing moles, spots, rashes, or lesions. Part your hair with a comb or hair dryer, and use a hand mirror to view hard-to-see areas.
- Empowers you to track skin changes over time and seek medical attention sooner.
- Early melanoma detection is associated with better outcomes.
Key conditions and rashes to monitor:
- Moles: Watch for asymmetry, color shifts, or growth.
- Persistent rashes: Patches that itch, ooze, or last longer than a few weeks.
- Unhealed sores: Cuts or lesions that fail to heal.
- New growths: Bumps or spots you haven’t seen before.
Section 2: Step-by-Step Guide to Skin Self-Examinations
Preparation for your self-skin examination:
- Choose a well-lit bathroom or dressing area with natural or bright LED lighting.
- Wear minimal clothing or remove clothes entirely to ensure full body visibility.
- Gather tools: a full-length mirror, a hand mirror, a comb or hair dryer, and good lighting; consider using a ring light or adjustable LED lamp for enhanced clarity.
Detailed examination sequence (follow this order):
- Face & Scalp
• Part hair with a comb or hair dryer.
• Use a hand mirror to inspect the scalp and hairline carefully, including behind the ears and hair partings. - Ears & Neck
• Check earlobes, behind ears, both sides and back of your neck. - Torso
• Examine front chest, under breasts (women), belly, and side ribs, lifting arms to check all angles. - Arms & Hands
• Inspect underarms, palms, fingernails, between fingers, and wrists. - Legs & Feet
• Scan thighs, shins, soles, toenails, and between toes thoroughly. - Back & Buttocks
• Use two mirrors or ask a trusted partner to help view upper and lower back and buttocks.
Best practices for self-skin exams:
- Set aside 10–15 minutes each month for a full check.
- Document findings in a journal with dates and photos for comparison (see track rash progress pictures).
- Use a dedicated skin tracking app to store images and monitor changes over time; some apps offer alerts for changes.
- Invite a trusted partner, hairdresser, or friend to inspect hard-to-see areas.
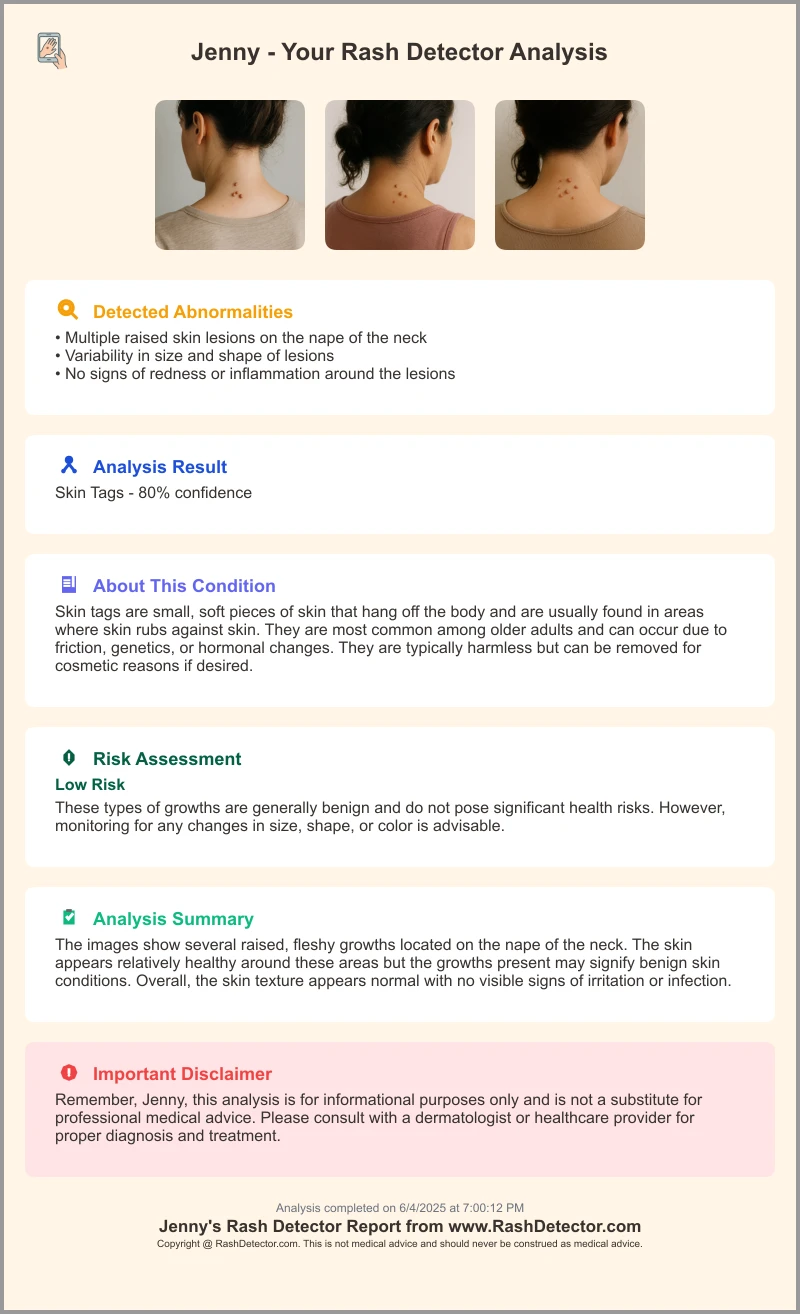
For additional support, try Skin Analysis App, which uses AI technology to evaluate your rash images and provide detailed reports and recommendations. Below is a sample report you might receive:
Section 3: Identifying Common Skin Rashes and Warning Signs
Common skin rashes and where they appear:
- Eczema: Red, itchy patches that sometimes ooze; often on hands, arms, and behind knees.
- Psoriasis: Thick, silvery scales on elbows, knees, and scalp.
- Contact dermatitis: Localized redness or blisters from irritants or allergens.
- Heat rash: Clusters of small red bumps in sweat-prone areas like armpits and groin.
- Note: Certain medications can cause distinctive rash patterns; consider recent medication changes.
Problematic moles or lesions: the ABCDE rule
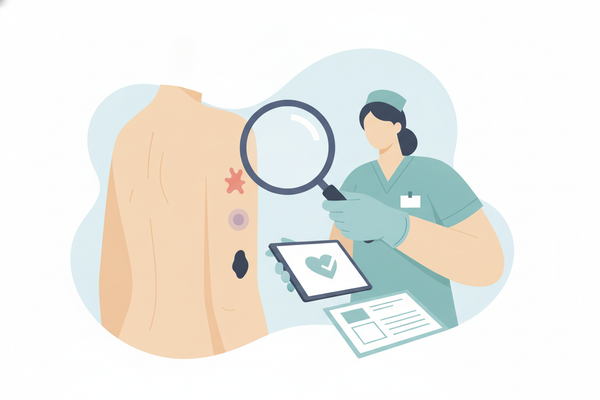
A. Asymmetry – One half doesn’t match the other.
B. Border – Irregular or scalloped edges.
C. Color – Multiple shades or shifting colors.
D. Diameter – Larger than 6 mm (pencil eraser size).
E. Evolving – Any change in size, shape, color, or symptoms (itching, bleeding).
Additional red flags:
- Rapid growth or sudden appearance of a spot.
- Pain, itching, or bleeding in a lesion.
- “Ugly duckling” mole that looks different from your other moles.
- Persistent satellite lesions or nodules around a mole may indicate changes that warrant prompt evaluation.
Section 4: When to Seek Professional Advice
Red flags warranting medical consultation:
- Any mole or lesion with ABCDE characteristics.
- Non-healing sores or rashes lasting more than 2–3 weeks.
- Sudden new spots, especially in areas usually covered by clothing.
- Lesions that are painful, ulcerated, or rapidly changing in texture.
Frequency guidelines:
- Self-skin exams: once per month to maintain consistent monitoring.
- Professional skin checks: at least once per year; more often if you’re high-risk (family history, fair skin, heavy sun exposure, history of skin cancer).
When you visit your dermatologist, bring dated photos and journal notes to illustrate any changes. This helps ensure a thorough evaluation and optimal care. Teledermatology options have expanded, allowing initial consultations via secure video with image uploads for quicker assessments.
Section 5: Additional Tips for Effective Self-Examinations
Incorporate self-exams into existing routines:
- Link your monthly exam to a fixed date—like the first day of each month—or to a personal care day.
- Set phone reminders or calendar alerts for consistency; many skin tracking apps now include automated reminders.
- Use the two-mirror technique for hard-to-see areas: position a hand mirror to view your back in a full-length mirror.
- Use a comb to part hair; a hairdryer can help separate strands for scalp inspection.
- Ask a partner, friend, or hairdresser to check areas you can’t reach.
For more self-exam tips, see 7 Essential Self Skin Exam Tips for Early Detection.
Conclusion
Regular skin self-examinations remain a helpful habit. By following this updated guide—using mirrors, good lighting, and the ABCDE rule—you can better monitor your skin for potential issues. Perform your first monthly exam today and share this guide to promote wider skin health awareness.
FAQ
- How often should I perform self-skin exams? Once a month is recommended to maintain consistent monitoring.
- What tools do I need? A full-length mirror, a hand mirror, a comb or hair dryer, and good lighting.
- What does the ABCDE rule stand for? Asymmetry, Border, Color, Diameter, Evolving.
- When should I see a dermatologist? If you notice any red-flag signs such as ABCDE features, non-healing sores, or new spots.
- Important: Always consult a healthcare professional or dermatologist for diagnosis and treatment, especially for severe, spreading, painful, or persistent symptoms.