How to Track Rash Progress Pictures: A Step-by-Step Guide
Learn how to track rash progress pictures using a time-stamped skin photos app and a rash diary template for effective monitoring and comparison.
Estimated reading time: 7 minutes
Key Takeaways
- Visual consistency: Regular photos reveal subtle changes in rash color, size, and texture.
- Secure documentation: Time-stamped photo apps organize and protect your images for easy sharing.
- Contextual insights: A structured rash diary adds symptom, trigger, and treatment details to each photo.
- Effective comparisons: Side-by-side before-and-after views help you evaluate treatment success.
- Trend tracking: Monthly reviews chart long-term patterns and improve communication with clinicians.
Table of Contents
- 1. Understanding the Need to Track Rash Evolution
- 2. Tools and Methods for Tracking Rashes
- 3. Practical Steps to Documenting Rash Progress
- 4. Monitoring Skin Changes Over a Monthly Schedule
- 5. Integrating All Methods for Effective Rash Tracking
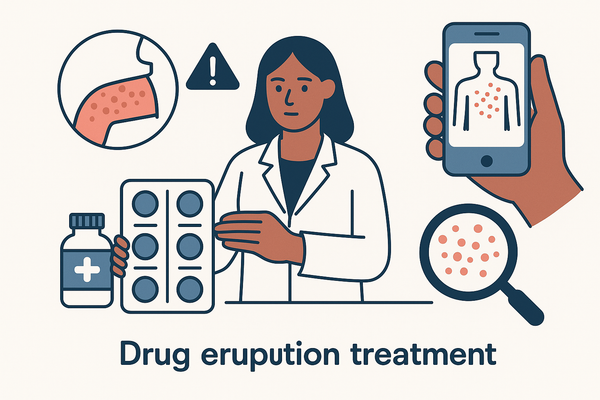
- 6. Rash Detector Integration
- 7. Conclusion and Next Steps
1. Understanding the Need to Track Rash Evolution
Why track rash progress pictures? Consistent visual records help you spot warning signs early, assess treatment effectiveness, and communicate more clearly with your healthcare team. Studies show that “a picture is worth a thousand words” when understanding skin rashes—it can highlight subtle shifts written notes might miss.
Key reasons to monitor skin changes:
- Identify worsening symptoms or complications at the earliest stage.
- Evaluate how topical creams or oral medications are working.
- Improve discussions with clinicians during spaced appointments.
2. Tools and Methods for Tracking Rashes
2.1 Using a Time-Stamped Skin Photos App
A time-stamped skin photos app automatically tags each image with date and time, creating a chronological visual history.
Benefits:
- Accurate documentation of rash changes
- Secure cloud storage and private sharing
- Easy export to PDFs or clinician portals
Key features:
- User-friendly interface with high-resolution capture
- Automatic timestamp on every photo
- Folder categorization by body area or date
- Privacy controls like passcode or biometric lock
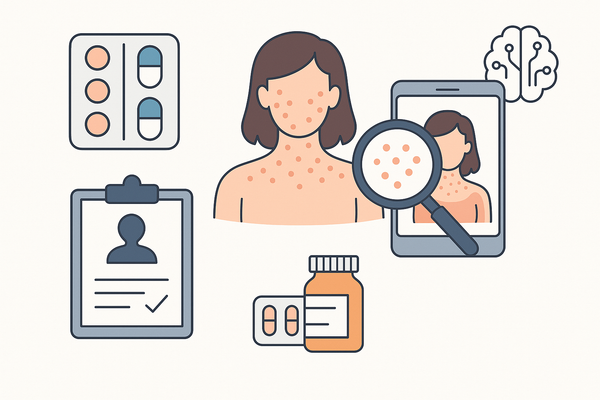
For a deeper look at AI-driven photo rash diagnosis software, check out our comparison post.
2.2 Creating and Maintaining a Rash Diary
A rash diary template complements your photos with context-rich notes.
Recommended diary fields:
- Date and time of entry
- Symptom descriptions (itching, swelling, pain level)
- Environmental or trigger notes (new products, foods, activities)
- Observational changes (color, size in mm/cm, spread pattern)
- Treatment applied and dosage (topical/oral)
How it helps:
- Clarifies what photos alone might not show
- Links triggers and treatments to visual changes
- Builds a clear timeline for self-review and clinician visits
3. Practical Steps to Documenting Rash Progress
3.1 Guidelines for Effective Photos
To ensure consistent, clear images:
- Use the same lighting each time—natural daylight or a fixed lamp.
- Choose a fixed background and angle—mark a spot on the floor or use a backdrop.
- Include a scale reference (ruler, coin) in each shot.
- Keep the full affected area in focus, free of shadows or glare.
3.2 Timing and Frequency
Set a photo schedule based on your rash type:
- Acute rashes: daily or every-other-day images.
- Chronic conditions: weekly or monthly intervals to reveal long-term trends (ultimate guide to progress pics).
- Use calendar reminders or app notifications to stay on track.
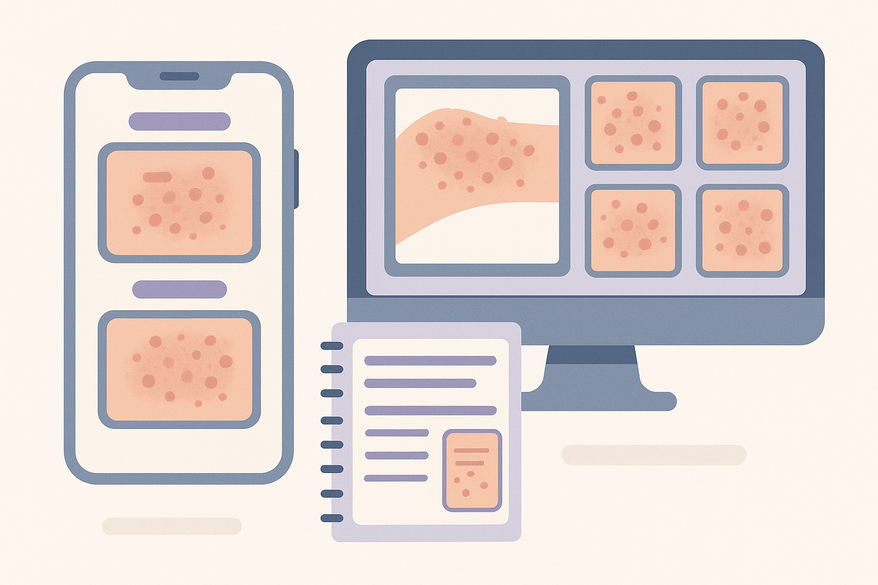
3.3 Comparing Before and After Images
Side-by-side comparisons help you see progress and new concerns:
- Import paired images into a comparison tool or photo editor.
- Note changes in:
- Color intensity (rate redness 1–10).
- Lesion size (measure diameter in cm).
- Texture differences (raised vs. flat).
- Record observations in your rash diary with date references.
4. Monitoring Skin Changes Over a Monthly Schedule
A monthly overview captures gradual progress and subtle recurrences. Use a calendar or spreadsheet to map photos and diary entries.
Sample monthly layout:
- Week 1: Full-body baseline photos + detailed diary entry
- Weeks 2–3: Focused check-ins on problem areas (photos + brief notes)
- Week 4: Comprehensive summary—compare before and after images, chart trends
Tips for charting progress:
- Create columns for date, photo link, redness score, lesion size, symptom notes
- Use graphs to visualize changes in symptom severity over time
5. Integrating All Methods for Effective Rash Tracking
Combining photos, diary notes, and monthly reviews creates a powerful tracking system.
Workflow for consistent tracking:
- Take time-stamped photos using your chosen app.
- Make a corresponding diary entry with the rash diary template.
- Schedule a monthly review to compare before and after images.
- Update a summary chart of symptom severity versus time.
Why this synergy matters:
- Photos provide objective visual records.
- Diary entries supply context—triggers, treatments, environment.
- Monthly reviews reveal trends you might miss day to day.
- Consistency builds a comprehensive record for you and your clinician.
6. Rash Detector Integration
For quick AI-driven analysis, consider using Rash Detector, which lets you upload your progress pictures and generates a detailed sample report to share with your clinician.
7. Conclusion and Next Steps
Systematic tracking with a time-stamped photo app, a detailed rash diary, and regular before-and-after comparisons gives you full visibility into your rash evolution. By monitoring skin changes monthly and integrating visual and written records, you’ll gain valuable insights for self-care and more effective communication with healthcare professionals.
Ready to get started?
- Download or create your rash diary template.
- Choose a reliable time-stamped skin photos app.
- Set up reminders for regular photos and diary entries.
- Start capturing and comparing rash progress pictures today.
Always consult a healthcare professional if you notice significant changes or new concerning symptoms. For guidance when your rash won’t go away, visit our detailed care guide.
FAQ
- How often should I capture rash progress pictures? For acute rashes: daily or every-other-day; for chronic conditions: weekly or monthly intervals.
- What features make the best photo-tracking app? Look for automatic timestamps, secure cloud storage, folder organization, and privacy controls.
- What should I record in my rash diary? Note the date, symptoms, triggers, visual changes, and treatments used.
- How do I compare before and after images? Use a comparison tool or photo-editing software to align images side by side, rate color intensity, measure lesion size, and note texture differences.
- When should I contact a healthcare professional? If you notice rapid worsening, new symptoms, or lack of improvement despite treatment, seek medical advice promptly.