7 Essential Self Skin Exam Tips for Early Detection
Discover 7 crucial self skin exam tips to spot rashes and abnormalities early, ensuring prompt treatment and better outcomes. Make self-checks a habit.
Estimated reading time: 6 minutes
Key Takeaways
- Perform monthly self exams to catch skin changes early and improve treatment outcomes.
- Use simple tools like mirrors, good lighting, and a camera to thoroughly inspect all areas.
- Recognize warning signs such as those in the ABCDE rule and unusual or persistent rashes.
- Document changes with photos or notes to track evolutions over time.
- Consult a dermatologist if you spot any suspicious spots, growths, or lasting skin issues.
Table of Contents
- Importance of Regular Self Skin Exams
- Tools and Preparation for Self Skin Exams
- Step-by-Step Self Skin Exam Tips
- Recognizing Warning Signs
- When and How Often to Conduct Self Skin Exams
- Additional Expert Tips and Best Practices
- Conclusion and Call to Action
Importance of Regular Self Skin Exams
Why should you make self skin exam tips part of your routine?
- Early detection saves lives. A monthly check can find skin cancer or rashes when they are most treatable.
- Monitor for changes. Tracking new spots, patches, or shifts in moles spots risk before it grows.
- Personalized risk factors. Fair skin, frequent sunburns, or family history of skin cancer boost the need for self-checks.
Setting a habit of regular self skin exams helps you catch small changes that could signal bigger issues.
Tools and Preparation for Self Skin Exams
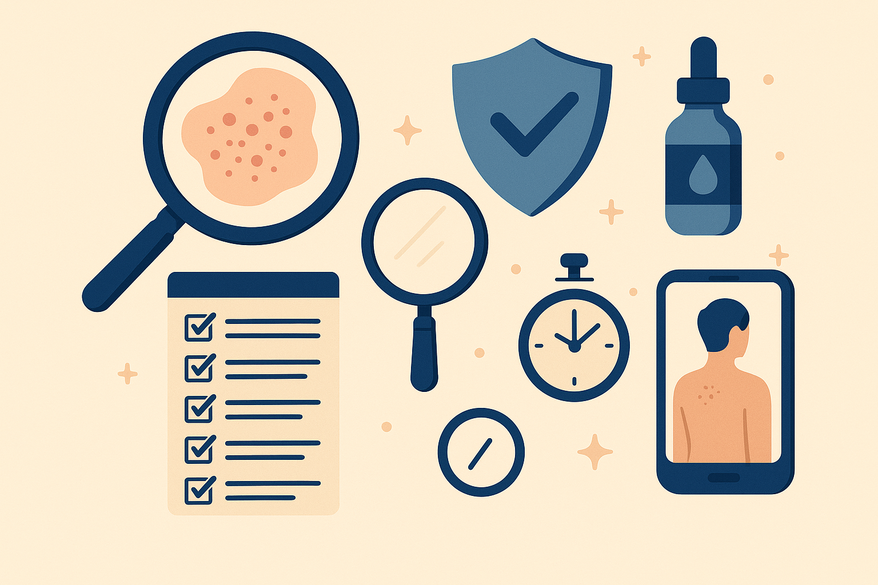
Gather simple tools and set up a calm space before you begin.
Necessary Tools:
- Full-length mirror and handheld mirror to view every angle clearly.
- Bright, natural lighting to spot subtle changes in tone or texture.
- Camera or smartphone to photograph moles, rashes, or odd spots for month-to-month comparison (learn more: tips for clear rash photos).
- Ruler to measure any suspicious lesion and note growth over time.
- Comb or blow dryer to part hair and inspect the scalp in sections.
Prep Tips:
- Perform exams after a shower when skin is clean and free of lotions.
- Pick a set day each month (for example, the first) to build a steady habit.
- Arrange a chair or stool and, if possible, have a partner help with hard-to-see areas like your back.
Step-by-Step Self Skin Exam Tips
Follow this sequence to cover head to toe:
- Head and Scalp
Stand in front of a full-length mirror. Check your forehead, temples, cheeks, nose, lips, and ears (front and back).
Use a handheld mirror or section your hair with a comb or blow dryer. Inspect the scalp in small areas to find lumps, scabs, or flaky patches. - Upper Body
Raise each arm and check underarms, inner upper arms, elbows, forearms, hands (both sides), and between fingers.
For women, lift the breast to inspect the skin beneath, and scan the chest and upper torso for odd blemishes or redness. - Back and Buttocks
Use two mirrors or ask a partner to help. Look at shoulder blades, spine, lower back, buttocks, and back of the neck and ears.
Note any rough patches, raised nodules, or unusual rashes in these hard-to-see zones. - Lower Body
Sit or stand to check the front and back of thighs, knees, calves, shins, ankles, feet (tops and soles), toenails, and between toes.
Don’t skip the genital area and crease between buttocks. Look for bumps, redness, or peeling skin. - Documentation
Photograph or write down details: location, size, shape, color, and texture of any mole, rash, or lesion (see how: track rash progress pictures).
Comparing month-to-month records reveals subtle growth or color shifts that you might miss by eye alone.
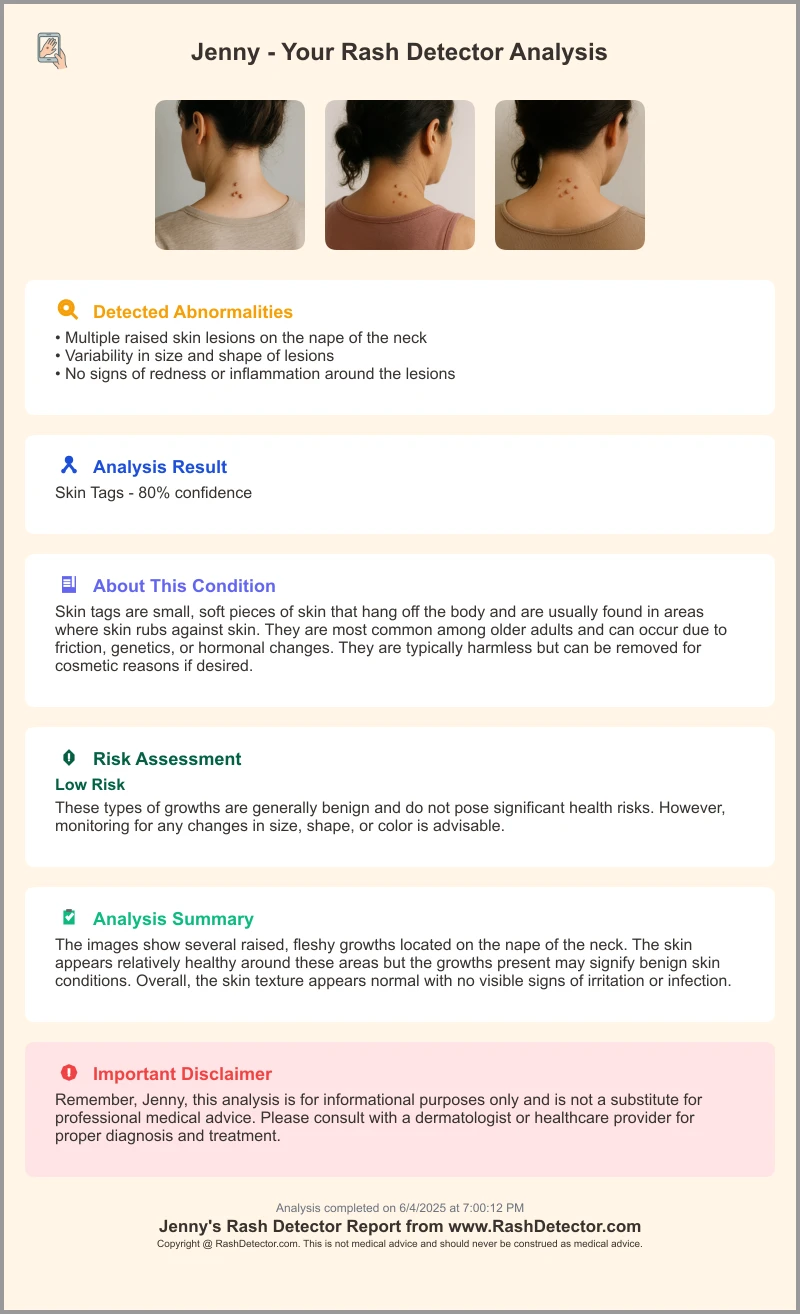
And, to augment your self skin exams, you can upload images to Rash Detector or Skin Rash App and receive an AI-driven analysis report instantly.
Recognizing Warning Signs
Know the red flags that need prompt medical attention.
- ABCDE Rule for Moles
Asymmetry: Half of the spot doesn’t match the other.
Border: Edges are uneven, scalloped, or fuzzy.
Color: Mixtures of tan, brown, black, red, white, or blue.
Diameter: Bigger than 6 mm (pencil eraser size).
Evolving: Changing size, shape, shade, or new symptoms like itching or bleeding. - Additional Red Flags
Rashes that linger over weeks or months.
Shiny bumps or pearly nodules.
Scaly, crusted, or oozing patches.
Sores that don’t heal in 2–3 weeks.
Unusual pain, itching, or tenderness around a spot. - Ugly Duckling Rule
Any mole that looks distinctly different from your other spots may be a sign to get checked by a dermatologist.
When and How Often to Conduct Self Skin Exams
Consistent checks are key to early detection.
- Frequency
Perform a self skin exam at least once a month, ideally after a shower when your skin is clean and relaxed.
Pick the same day each month to make it routine. - Next Steps for Abnormalities
Compare any new or changing spot against your photos or journal entries.
If you see a suspicious lesion or rash, schedule an appointment with a board-certified dermatologist right away.
Additional Expert Tips and Best Practices
- Keep a skin journal or photo log. Share it at dermatology visits to track trends and spot emerging issues.
- Protect and nourish skin. Use a broad-spectrum SPF 30+ sunscreen daily. Moisturize to support the skin barrier. Avoid midday sun.
- Professional screenings. Schedule an annual full-body check with a dermatologist, or more often if you have high-risk factors.
- Healthy habits. Stay hydrated, eat antioxidant-rich foods, and limit tanning to reduce long-term UV damage.
Conclusion and Call to Action
Integrating these self skin exam tips into your monthly routine empowers you to detect skin changes early. Early detection of rashes, lesions, or evolving moles can save lives and improve treatment success. Set a calendar reminder, gather your tools, and enlist a friend or family member to help when needed. Don’t wait—start your first self skin exam today, and consult a dermatologist promptly for anything that seems off. Your skin health is in your hands.
FAQ
- How long does a full self skin exam take?
A thorough self exam usually takes 10–15 minutes. Using mirrors and proper lighting helps speed up the process. - When should I see a dermatologist?
If you notice a new spot, changing mole, persistent rash, or any of the ABCDE warning signs, schedule a professional evaluation as soon as possible. - Can I use an app to track my moles?
Yes, apps like Rash Detector and Skin Rash App can help you photograph and monitor skin lesions over time. - Is self-exam enough to prevent skin cancer?
Self examinations aid in early detection but don’t replace regular professional screenings. Annual dermatologist checkups are recommended, especially if you have high-risk factors.