Optimal Lighting for Rash Photo Capture: A Guide to Accurate Dermatology Photography
Learn how optimal lighting for rash photo capture improves diagnosis accuracy. Discover tips for proper brightness, color temperature, and even light distribution.

8 min read
Key Takeaways
- Use daylight-balanced light (~5000 K) to help render true skin tones.
- Maintain approximately 500–1,000 lux at the skin surface to balance detail and exposure.
- Ensure even light distribution (aim for minimal variation) to avoid hotspots and shadows.
- Fine-tune camera settings: exposure +0.3 to +0.7 EV, ISO 100–200, shutter ≥1/60 s, “Daylight” white balance.
- Stabilize with a tripod and remote shutter for sharp, reproducible images.
Table of Contents
- Introduction
- Understanding the Impact of Lighting on Rash Photography
- What Constitutes Optimal Lighting for Rash Photo Capture
- Practical Tips for Achieving Optimal Lighting
- Equipment and Tools
- Common Challenges and How to Overcome Them
- Environmental Considerations
- Case Studies & Before-After Examples
- Conclusion & Key Takeaways
- Additional Resources
- FAQ
Introduction
Optimal lighting for rash photo capture refers to the combination of brightness, color temperature, and light distribution that can yield clinically usable images of skin lesions. Clear rash photos may help enable more accurate diagnosis, teledermatology consults, and treatment monitoring by representing color, texture, and margins as faithfully as possible. According to the American Academy of Dermatology, high-quality images can help reduce misdiagnosis and improve patient outcomes. RX Photo emphasizes that balanced lighting avoids backgrounds and shadows that obscure important details. Poor lighting can hide fine scales, alter redness, and mislead treatment plans, so understanding lighting is important for both patients and providers.
Important: This article provides general, educational information and is not a substitute for professional medical advice. If you have a rash that is severe, spreading, painful, or persistent, or if you are unsure about your symptoms, see a doctor or dermatologist promptly for diagnosis and treatment.
Understanding the Impact of Lighting on Rash Photography
Lighting influences how a rash appears in terms of color accuracy, surface texture, and border definition. Inaccurate lighting can mask signs or create artifacts that may confuse clinicians.
- Shadows can hide portions of the lesion, making it look less extensive. Source: RX Photo on cosmetic dermatology photography
- Glare from harsh or direct light can wash out color and fine surface details. Source: Cosmoderma’s basic concepts of dermatology photography
- Color distortions may occur when light is too warm (<4500 K) or too cool (>5500 K), masking redness or subtle bruising. Source: RX Photo on cosmetic dermatology photography
By minimizing harsh shadows, glare, and color shifts, you can better preserve the appearance of skin lesions—a necessity for teledermatology and in-office records.
What Constitutes Optimal Lighting for Rash Photo Capture
Definition: Optimal lighting for rash photo capture aims to ensure that all areas of the lesion are uniformly illuminated at daylight-balanced color temperatures, revealing true texture and color gradients.
- Brightness: Around 500–1,000 lux at the skin surface – bright enough to show detail without overexposure. Source: American Academy of Dermatology guide
- Color Temperature: Approximately 5000 K (daylight-balanced) for neutral, true-to-life color rendering. Source: RX Photo on cosmetic dermatology photography
- Evenness of Light Distribution: Minimal variation across the frame to avoid hotspots and shadowed zones. Source: Cosmoderma’s basic concepts
Many modern LED lighting panels and ring lights offer built-in lux meters and adjustable color temperature, making it easier to achieve these standards at home or in the clinic.
Practical Tips for Achieving Optimal Lighting
Leveraging Natural Light
- Position the patient near a north-facing window on a clear day.
- Avoid direct sunlight; use sheer curtains or a diffuser panel to scatter light.
- Check that the window light falls evenly across the lesion. Source: American Academy of Dermatology guide
- For follow-up photos, use the same window and time of day for consistency.
Supplementing with Artificial Light
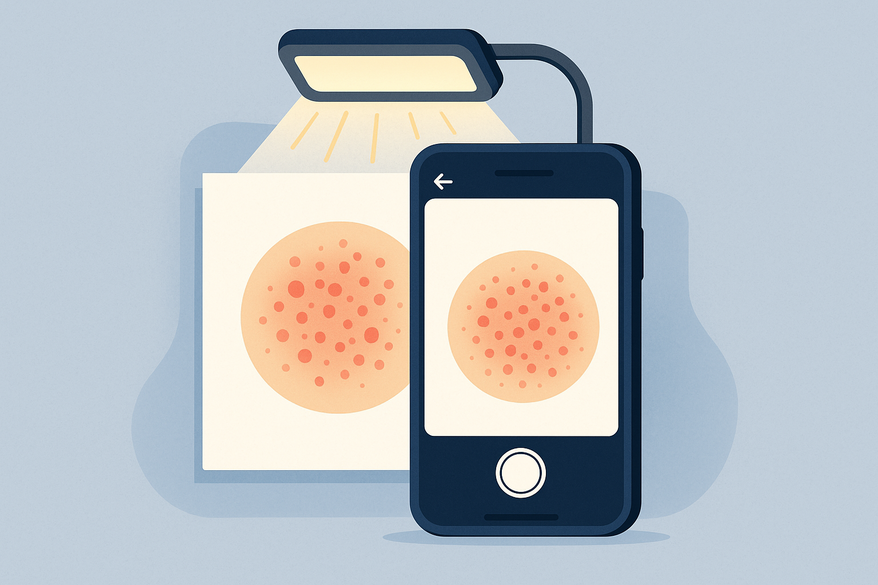
- Use two matched LED panels or desk lamps placed at 45° angles to the skin’s surface.
- Attach diffusion material (white fabric or frosted acrylic) to soften beams and reduce glare.
- Choose bi-color LED panels that allow you to dial in approximately 5000 K for daylight balance. Source: Cosmoderma’s basic concepts
- Many affordable LED panels include mobile apps for fine-tuning color and brightness remotely.
Camera and Smartphone Settings
- Exposure Compensation: +0.3 to +0.7 EV to help prevent underexposure in shaded areas.
- White Balance: “Daylight” preset or custom 5000 K for more accurate color.
- ISO: 100–200 to reduce noise and preserve detail.
- Shutter Speed: ≥1/60 s for handheld shots; use a tripod for slower speeds.
- Focus: Tap to focus on the rash center; enable gridlines for precise alignment. Source: Cosmoderma’s basic concepts
- Many smartphones offer advanced "Pro" or "Manual" modes, and some provide AI-based scene optimization for medical images—check your device's camera app for these features.
Equipment and Tools
Cameras & Smartphones
- Devices with manual or “Pro” modes (e.g., recent iPhone or Samsung Galaxy models, or mirrorless cameras).
- High-resolution sensors (≥12 MP) and RAW capture capability. Source: Cosmoderma’s basic concepts
- Some newer models include built-in macro modes and improved color science tailored for skin tones.
Lighting Accessories
- Ring lights (≥10" diameter) with adjustable color temperature dials and built-in lux meters.
- Portable bi-color LED panels (≥20 W) with barn doors or diffuser mats.
- Soft boxes (30×30 cm) for tabletop or clinic desk setups.
- Compact, USB-C rechargeable ring lights and panels are widely available and affordable.
Stabilization & Close-Up
- Tripods with smartphone mounts – at least 1 m height for flexibility.
- Remote shutter release or camera timer to prevent shake.
- Clip-on macro lenses (15–30 mm focal length) to capture texture without distortion. Source: Cosmoderma’s basic concepts
- Magnetic macro lens attachments for smartphones are now common and affordable, making close-ups easier and sharper.
Common Challenges and How to Overcome Them
Shadows
Problem: Single light source creates dark pockets.
Solution: Add a fill light at lower intensity or use reflector cards to bounce light. Source: RX Photo on cosmetic dermatology photography
Uneven Lighting
Problem: Hotspots and dim zones across the frame.
Solution: Use a large diffused panel or bounce light off a white wall/ceiling. Source: Cosmoderma’s basic concepts
Reflections & Glare
Problem: Specular highlights mask fine textures.
Solution: Mount a polarizing filter or angle lights off-axis and soften with diffusion. Source: Cosmoderma’s basic concepts
Color Casts from Mixed Lighting
Problem: Combining daylight and artificial lights can cause unwanted color shifts.
Solution: Choose one lighting type and turn off others; set camera white balance manually to match your chosen light.
Patient Movement
Problem: Blurring from movement, especially in children.
Solution: Use a faster shutter speed (≥1/125 s if possible) and stabilize the area being photographed with pillows or supports.
Environmental Considerations
Background Selection
- Use plain, matte, neutral-colored backdrops (mid-gray or light blue).
- Avoid patterns or reflective surfaces that introduce color casts. Source: RX Photo on cosmetic dermatology photography
- Disposable, non-woven medical drapes or poster boards are affordable and effective.
Patient Positioning & Framing
- Center the lesion; leave a margin of healthy skin on all sides (about 2 cm is often recommended).
- Ensure the skin surface is flat (e.g., rest forearm on a pillow).
- Enable grid overlay on the camera to maintain level framing. Source: Dermatologist tips for skin photography
- Consider marking the area with a washable skin-safe marker for consistent follow-up images.
Consistency of Location
- Select a spot with stable lighting (north window or well-lit room).
- Document patient position and camera angle for follow-ups. Source: American Academy of Dermatology guide
- Use a simple template or checklist to record setup details for future reference.
Case Studies & Before-After Examples
Example 1: Forearm eczema under mixed fluorescent light vs. window + diffuser setup:
- Mixed overhead lighting created a greenish tinge and deep shadows, obscuring the true extent of the rash.
- Window light with a sheer curtain yielded more accurate tones and revealed fine scale texture. Source: AAD guide
Example 2: Facial rash lit by direct flash vs. ring light at 5000 K:
- Direct flash produced harsh glare and washed-out color.
- Ring light reduced glare, balanced color, and highlighted subtle erythema.
“The best clinical images come from consistent, diffused light sources.” – Dermatologist quote
To see how to document these improvements over time, visit Track Rash Progress Pictures.
Conclusion & Key Takeaways
Optimal lighting for rash photo capture is important for diagnosis accuracy and teledermatology success. By implementing daylight-balanced light (~5000 K), proper brightness (approximately 500–1,000 lux), even distribution, and refined camera settings, you can help ensure consistent, high-quality images. Stabilize your device to maintain sharpness and reproducibility.
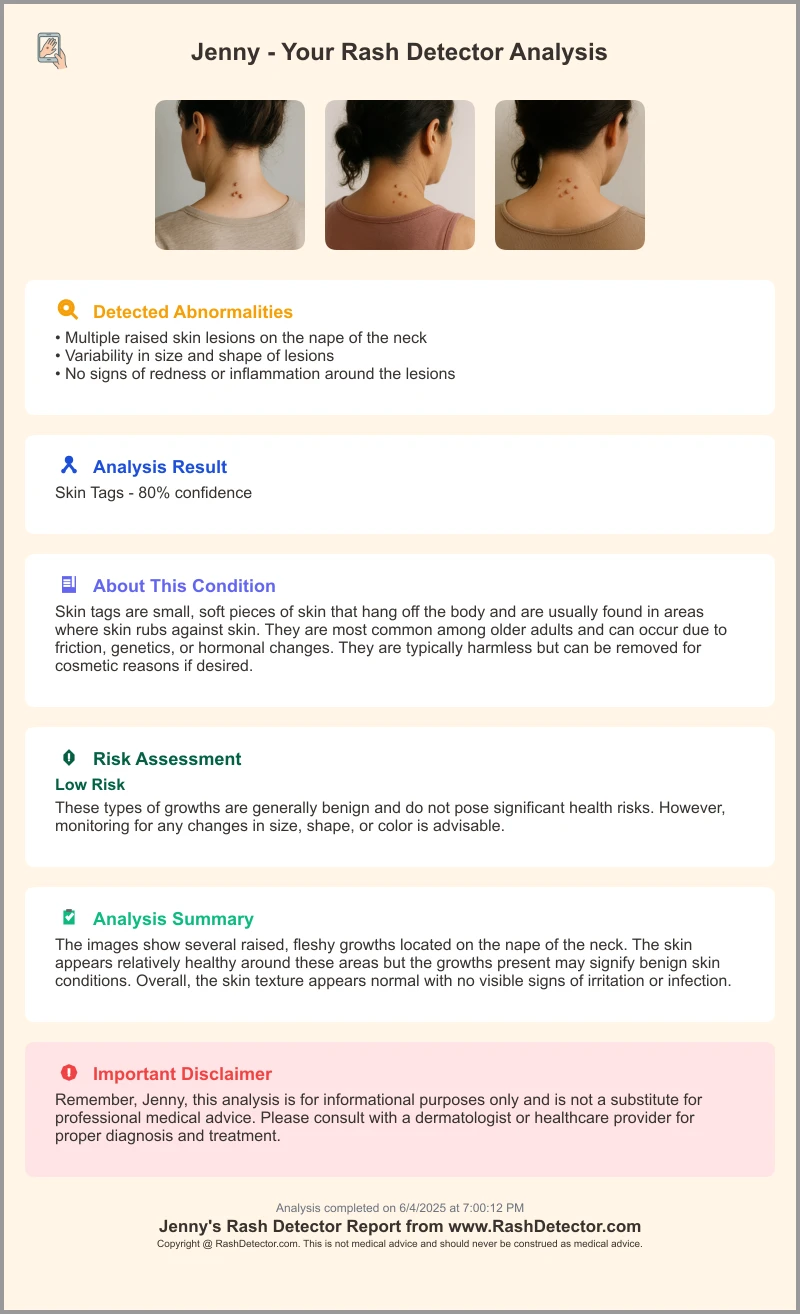
For streamlined analysis and AI-powered feedback on your rash photos, upload your optimized images to Rash Detector and receive an instant report.
Additional Resources
- How to take the best photographs of your skin lesion or rash (PDF)
- American Academy of Dermatology’s guide on taking skin pictures
- RX Photo on cosmetic dermatology lighting & backgrounds
- Cosmoderma’s basic concepts of dermatology photography
FAQ
- What is optimal lighting for rash photography?
Uniform daylight‐balanced illumination at approximately 500–1,000 lux with minimal variance helps ensure true color and texture. - How do I avoid glare and reflections?
Use diffusion materials, off‐axis lighting, and polarizing filters to soften specular highlights. - Can I use a smartphone for clinical rash photos?
Yes—select a device with manual/Pro mode, set ISO 100–200, “Daylight” white balance, and stabilize with a tripod. - How do I maintain consistency for follow-up images?
Document the patient’s position, camera angle, and lighting setup; choose a location with stable light throughout the day.