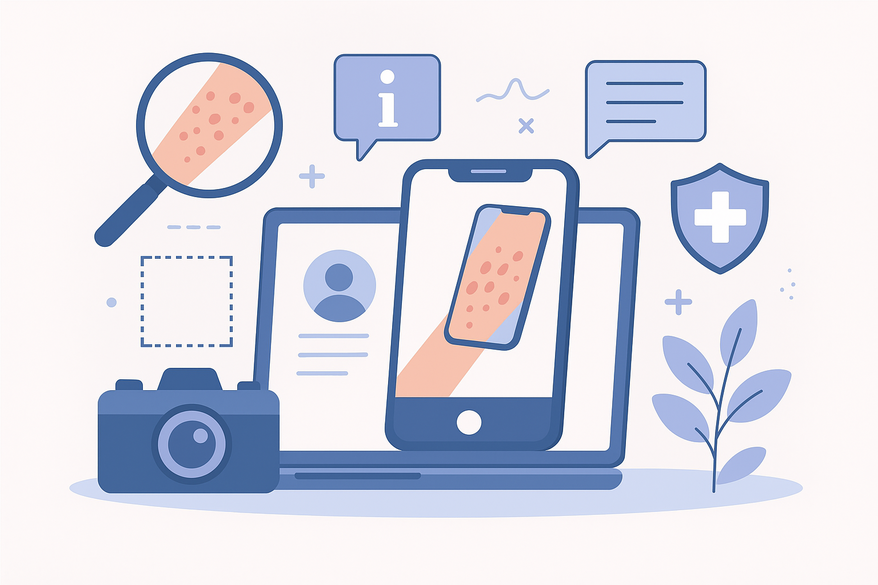
Tips for Taking Clear Rash Photos: A Step-by-Step Guide for Accurate Diagnosis
Learn essential tips for taking clear rash photos to ensure accurate diagnosis and treatment in telemedicine. Improve your remote healthcare outcomes today.
Estimated reading time: 8 minutes
Key Takeaways
- High-quality rash photos are essential for accurate remote diagnosis.
- Use the right equipment, lighting, and background for clarity.
- Include scale references and capture multiple angles.
- Store and share images securely via encrypted channels.
Table of Contents
- Importance of Quality Photos
- Equipment and Setup
- Preparation
- Step-by-Step Guide
- Accuracy and Scale Considerations
- Post-Photography Best Practices
- Rash Detector Light Touch
- Conclusion
Importance of Quality Photos
Accurate remote diagnosis hinges on clear visual clues. High-resolution images convey:
- Size: Area covered by the rash.
- Color: Hues ranging from pink to violet.
- Distribution: Patchy, linear, or diffuse patterns.
- Texture: Smooth, scaly, raised, or flat.
Poor quality—blurry, underexposed, overexposed—can lead to misdiagnosis of eczema vs. psoriasis, delayed treatment, or extra appointments. In one case, a grainy image forced an in-person visit and delayed care by days.²
¹ Quality rash images help doctors differentiate between various skin conditions.
² Unclear images can lead to complications if serious conditions are missed.
Equipment and Setup
Choosing the right gear is the first step:
- Smartphone: 12 MP rear camera with image stabilization.
- DSLR/Mirrorless: 20 MP+ sensor with a macro lens.
Camera settings:
- Autofocus (AF-C or single-point).
- Macro mode at 2–4 inches.
- ISO 100–200; shutter speed ≥ 1/60 s; white balance on daylight.
Use a tripod or phone stand to avoid handshake blur. A flash diffuser or bounce flash softens harsh shadows. On smartphones, tap the screen on the rash and adjust the exposure slider for optimal brightness.
Preparation
Proper prep eliminates distractions:
- Wash and pat skin dry; avoid lotions that glare.
- Choose a solid, neutral background (white sheet or pale wall).
- Use indirect daylight or two lamps at 45° for even light.
- Remove jewelry, clothing edges, tattoos, or makeup.
Patients who prepare skin and background reduce retakes by 70% and speed up diagnosis.
Step-by-Step Guide
- Position: Hold camera perpendicular (90°) to skin—use a tripod for stability.
- Distance & Framing: Close-up at 6–12 inches with 0.5 inch margin; overview at 2–3 feet to show location.
- Focus: Tap-to-focus on the rash center; zoom in preview to confirm sharpness.
- Perspectives:
- Straight-on close-up for texture and color.
- 30° angled shot for bumps or scaling.
- Wide shot for distribution context.
- Serial Captures: Photograph daily to track changes (track rash progress pictures) and label images with date/time.
Checklist: Focus locked; even exposure; no glare or shadows; reference object in frame.
Accuracy and Scale Considerations
Clinicians need size context to measure lesion spread:
- Use a metric ruler or coin (e.g., U.S. quarter ≈ 24 mm).
- Lay ruler flat and parallel to skin; place coin adjacent without covering rash.
- Include 1–2 inches of healthy skin around the lesion.
³ Including a reference object helps medical professionals understand scale.
Post-Photography Best Practices
After capture:
- Review at 100% zoom for focus, exposure, and blur; retake as needed.
- Store in encrypted galleries (iOS Photos with Face ID, Android Secure Folder) or HIPAA-compliant cloud with 2FA.
- Share only via secure patient portals or encrypted apps (optimizing a virtual dermatology visit).
Privacy reminder: Treat your skin images as protected health information.⁴
⁴ Store images securely and share via encrypted channels to protect privacy.
Rash Detector Light Touch
For instant feedback, consider an AI-powered Skin Analysis App. With Rash Detector, upload three clear photos and receive an easy-to-read assessment.

Conclusion
By following these tips, you’ll equip your healthcare provider with the detailed visuals needed for an accurate diagnosis. Remember to:
- Use a high-resolution device and stabilize your shots.
- Prepare skin and background; optimize lighting.
- Frame multiple angles and distances; include scale references.
- Review images, store securely, and share via encrypted channels.
If your rash persists, worsens, or brings fever, pain, or swelling, consult a healthcare professional promptly. Clear communication and high-quality images are your first steps toward effective, timely care.
FAQ
How far should I stand from the rash?
For close-ups, position your camera 6–12 inches away to fill the frame; for context shots, back up 2–3 feet.
Is it necessary to include a ruler or coin?
Yes. A reference object gives clinicians scale, improving accuracy in measuring lesion size.
Can I use indoor lighting?
Indirect daylight is best. If using lamps, place two at 45° angles to minimize shadows and glare.