Rash Detector App Tutorial: A Beginner’s Guide to Identifying Skin Rashes
Learn how to use a rash detector app to identify skin rashes with ease. This beginner's guide covers setup, usage, and interpreting AI results.
Estimated reading time: 8 minutes
Key Takeaways
- Quickly identify skin rashes using AI analysis on your smartphone
- Maintain privacy with on-device image processing
- Follow a clear workflow for capturing photos and entering symptoms
- Understand results with intuitive urgency indicators
- Access practical tips to boost accuracy and resolve common issues
Table of Contents
- Why You Need a Rash Detector App
- Section 1: Understanding the Rash Detector App
- Section 2: Getting Started – The Rash Detector App Tutorial
- Section 3: Using the Rash Detector App Effectively
- Section 4: Tips, Best Practices & Common Mistakes
- Conclusion & Additional Resources
Why You Need a Rash Detector App
- Immediate answers without waiting for medical appointments
- Peace of mind when facing a new or recurring rash
- Enhanced privacy through on-device processing
- Evidence-based advice on home remedies or doctor visits
Section 1: Understanding the Rash Detector App
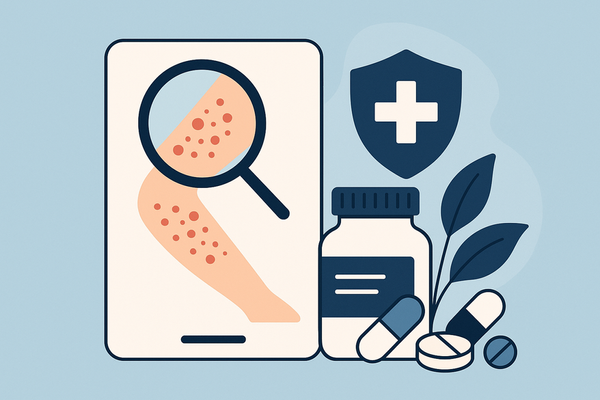
Feature Overview
An app like the Rash Detector combines image analysis, AI insights, and personalized advice to guide you through skin concerns. Key features include:
- Photo Analysis
– Capture high-resolution images with in-app overlays for framing and focus - AI-Driven Insights
– Compare your image to thousands of dermatology-verified photos
– Answer follow-up questions on duration, itching, and pain for refined results - Personalized Recommendations
– Urgency flags: monitor at home, use over-the-counter treatments, or see a doctor
– Tailored home care tips, such as antihistamines for hives
How It Works
- On-Device vs. Cloud-Based AI
– On-device processing keeps images local for maximum privacy
– Cloud AI enables faster updates and deeper neural nets - Real-Time Image Recognition
– Dermatology-trained datasets drive high-accuracy identification
– Instant feedback within seconds of photo capture
For a broader comparison of top photo rash diagnosis tools, see our AI Rash Detector App overview.
Section 2: Getting Started – The Rash Detector App Tutorial
- Download & Install the Rash Detector App
- Open iOS App Store or Google Play Store
- Search for “rash detector app” or by name (e.g., Rash ID)
- Tap Install and confirm device compatibility
- Create Your Account
- Provide email and create a secure password
- Optional: enter age, skin type, and allergy history for personalized advice
- Configure Settings
- Privacy: enable on-device processing and disable cloud uploads if desired
- Notifications: toggle reminders for follow-up scans or medication schedules
- Navigate the Interface
- Home Screen: large “Scan” or “Upload Photo” button
- Menu Tabs: History, Settings, Help/Support
- In-App Tips: interactive walkthrough popups on first launch
Section 3: Using the Rash Detector App Effectively
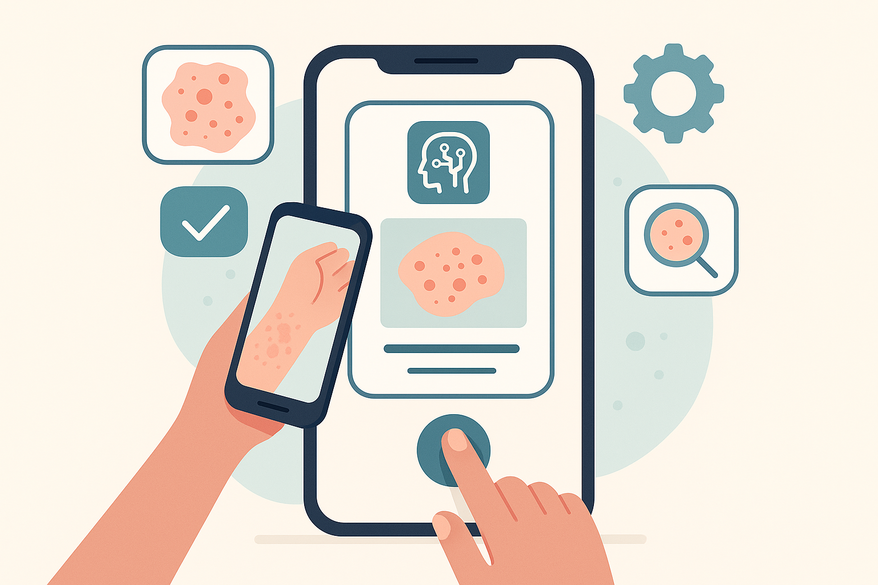
Photographing Your Rash for the Best Results
- Lighting Tips
– Use even, natural daylight when possible
– Turn off flash to avoid glare and overexposure - Framing & Focus
– Hold the camera perpendicular to the skin
– Fill the frame with the rash area, leaving minimal background - In-App Overlays
– Employ grid guides or circles to center the rash for consistent shots
Learn more about taking clear rash photos in our detailed guide to clear rash photos.
Inputting Symptom Data
- Answer Follow-Up Questions
– Duration: duration of rash
– Symptoms: itchiness, pain, swelling, color changes
– Spread: localized or covering a larger area - Body Area Selection
– Tap on a body map or select from a dropdown list
Interpreting Results
- Condition List & Likelihood Scores
– E.g., “Eczema – 80%,” “Fungal Infection – 20%”
– Visual comparison images for each possible condition - Urgency Indicators
– Green: monitor at home, low risk
– Yellow: try home care remedies, moderate risk
– Red: seek in-person medical advice, high risk - Action Links
– Clickable links to curated home-care articles and clinic booking pages
Section 4: Tips, Best Practices & Common Mistakes
Practical Tips for Accuracy
- Use a tripod or phone stand to eliminate blur
- Retry if AI confidence is below 70% under better lighting or framing
- Keep the app updated for improved AI models and condition coverage
Common Issues & Fixes
- Inconsistent Results
– Close and reopen the app or re-authorize camera permissions
– Retake the photo against a neutral background - Privacy Doubts
– Review the app’s privacy policy
– Confirm on-device processing in Settings - Confusing Outputs
– Use the built-in chatbot or help center for detailed explanations
Conclusion & Additional Resources
Recap: This tutorial equips you to:
- Capture clear rash photos
- Provide accurate symptom details
- Interpret AI-driven likelihood scores
- Make informed decisions on care or doctor visits
While these tools offer powerful first-line support, they are not substitutes for professional medical advice.
Track your progress over time by creating a photo journal in our step-by-step guide.
Share your feedback through surveys or app store reviews to help improve future versions of the app.
FAQ
- Does the app store my photos?
Leading apps process images on-device; check privacy settings to disable cloud uploads. - Can I use it for children?
Yes, but always verify with a pediatrician for kids under 12 due to skin sensitivity. - How accurate is it?
Accuracy varies by app and lighting; treat results as preliminary guidance. - What if the app crashes?
Update to the latest version, clear cache, and restart your device. - Why is my photo quality poor?
Improve lighting, clean your lens, and use a steady mount.