How to Optimize Personalized Rash Detector Settings for Accurate Skin Monitoring
Discover how to enhance skin monitoring accuracy by optimizing personalized rash detector settings tailored to your unique profile and environment.
Estimated reading time: 8 minutes
Key Takeaways
- Understanding the core features of a rash detector app and its personalization capabilities.
- Recognizing why customizing settings for skin tone, sensitivity, and lifestyle improves accuracy.
- Following a step-by-step process to configure sensitivity levels, thresholds, and monitoring frequency.
- Implementing testing, calibration, and dynamic adjustment for optimal skin monitoring.
- Troubleshooting common issues and best practices for data sharing with healthcare providers.
Table of Contents
- Introduction
- 1. Understanding the Rash Detector App and Personalized Rash Detector Settings
- 2. The Importance of Personalized Settings
- 3. Step-by-Step Guide to Customizing Settings
- 4. Using Personalized Settings for Optimal Monitoring
- 5. Troubleshooting and Conclusion
Introduction
Imagine you unlock your phone at dawn. A gentle ping alerts you: “Early rash detected on left forearm.” Thanks to your personalized rash detector settings, you caught a developing redness before it spread. This scenario shows how personalized rash detector settings can spot skin changes early and keep you ahead of potential issues.
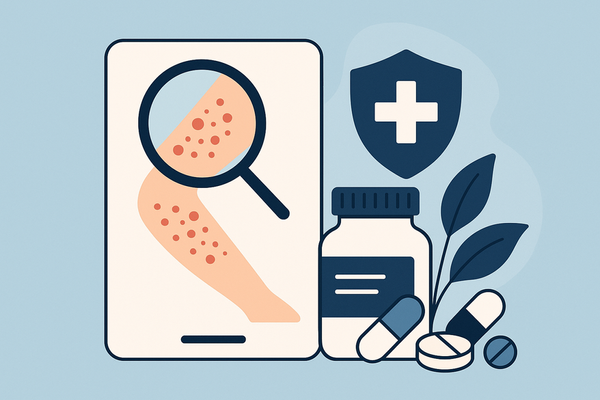
A rash detector app is a digital tool that uses your smartphone camera and AI-based image analysis to scan skin photos and flag rashes or other dermatological concerns. Personalized rash detector settings are the user-configured parameters—like sensitivity, threshold levels, and monitoring frequency—that tailor detection to your unique skin profile and environment.
In this guide, you’ll learn:
- What a rash detector app does
- Why personalization matters
- How to configure settings for your skin tone, history, and lifestyle
By the end, you’ll be ready to fine-tune your app for more accurate, reliable skin monitoring.
1. Understanding the Rash Detector App and Personalized Rash Detector Settings
To get the most from your personalized rash detector settings, first understand how the app works:
- AI-driven image analysis
• Captures a photo of your skin.
• Uses machine learning algorithms to spot texture changes, color shifts, and rash patterns.
• Compares new images against a stored skin signature to flag anomalies. - Interactive symptom questionnaires
• Mimics a dermatologist’s intake form.
• Asks follow-up questions: itching level, spread pattern, duration.
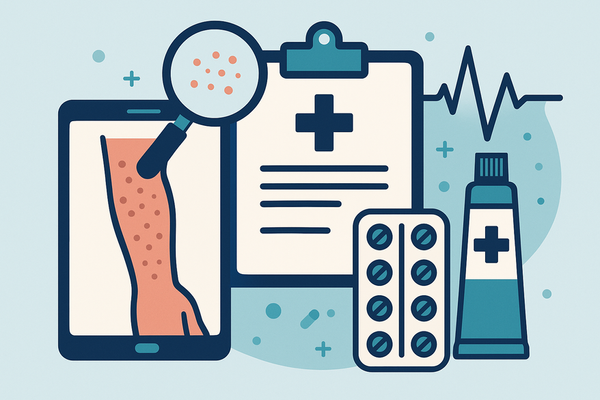
• Refines AI confidence in its rash classification. - Tracking and logging features
• Builds a timeline of skin images and symptom notes.
• Highlights trends—like recurring flare-ups in the same spot.
• Supports export to PDF or CSV for doctor visits. - Privacy-first design
• Performs image analysis on your device.
• Avoids cloud uploads to keep your photos and data private.
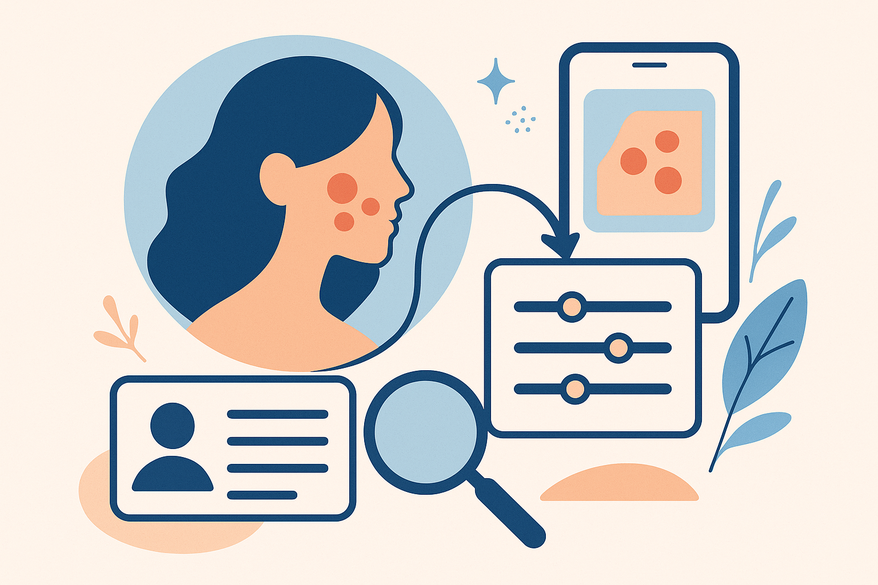
• Lets you control all data export and sharing. - Personalization at its core
• Skin profile settings—tone, known sensitivities, medical history—guide the AI’s baseline.
• Sensitivity and threshold customizations shape alert levels.
• Monitoring frequency adapts to your risk factors.
For a broader overview of skin-tracking apps, see best skin-tracking app guide.
2. The Importance of Personalized Settings
Default app presets treat everyone the same. But your skin is unique. Customizing settings matters because:
- Skin tone and type
• Fitzpatrick skin phototypes I–VI range from very fair to very dark.
• AI color calibration may misread melanin-rich or very light tones without adjustment. - Sensitivity thresholds
• Determines how reactive the app is to minor skin changes.
• High sensitivity catches subtle redness; low sensitivity filters out harmless marks. - Environmental triggers
• Humidity, UV index, and allergens can cause temporary skin changes.
• Custom alerts help distinguish environmental irritation from true rashes. - Personal health history
• Eczema, psoriasis, and acne each have distinct rash patterns.
• Personalized thresholds avoid over-alerting chronic-condition users.
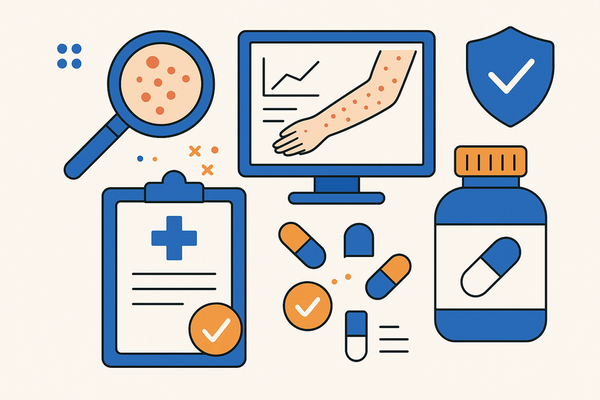
Benefits of customization
• Improved accuracy—calibrates AI to your skin’s baseline and context.
• Reduced false alerts—fine-tunes thresholds to ignore benign freckles or shadows.
• Better user experience—tailors notification timing and tone to fit your routine.
• Relevant recommendations—specific advice like fragrance-free creams or UV blockers.
3. Step-by-Step Guide to Customizing Settings
Common adjustable settings:
• Sensitivity level: How quickly the AI reacts (low/medium/high).
• Threshold levels: Which rash severities trigger alerts (mild, moderate, severe).
• Monitoring frequency: How often the app prompts photos (hourly, daily, weekly).
• Skin profile parameters: Your Fitzpatrick type, known allergies, and chronic conditions.
Configuration steps
- Open the Settings menu (gear icon or Profile tab).
- Enter Skin Profile
– Select your Fitzpatrick phototype.
– List known skin conditions (eczema, psoriasis).
– Add any allergies (nickel, fragrances). - Adjust Sensitivity
– High for chronic or fluctuating conditions.
– Medium/low for routine checks. - Set Threshold Levels
– Mild: Log in-app only.
– Moderate: Push notification.
– Severe: Immediate alert and doctor suggestion. - Choose Monitoring Frequency
– At-risk users: daily or hourly scans.
– General maintenance: weekly or biweekly. - Enable Educational Prompts
– Skin-care tips based on your profile.
– Professional-advice reminders. - Save and Trial Scan
– Run a test scan on a normal skin area.
– Compare AI feedback with your expectations and adjust.
For photo best practices, see tips for clear rash photos.
4. Using Personalized Settings for Optimal Monitoring
Testing and calibration protocol
• Capture images in varied lighting (natural, fluorescent, low light).
• Log each test photo in your timeline.
• Compare app’s classification to baseline to ensure consistency.
• Adjust sensitivity or thresholds if under- or over-reporting.
Tracking and dynamic adjustment
• Review weekly trend reports for rash frequency and severity spikes.
• Refine monitoring intervals based on report data—perhaps shift from daily to twice-weekly.
• Export reports (PDF/CSV) to share with your healthcare provider.
For routine integration into your day, check out rash monitoring daily routine.
Case scenario example
Profile: Jamie, a 32-year-old with moderate eczema, pale skin (Fitzpatrick II), prone to flare-ups in winter.
• Settings: High sensitivity, moderate threshold, daily scans.
• Outcome: Two days before visible flaking, the app flagged early redness.
• Action: Jamie applied prescribed hydrocortisone, preventing a full flare and avoiding itching.
5. Troubleshooting and Conclusion
Common problems & solutions
• App misses rashes—Increase sensitivity; retake photos in brighter light; update baseline images.
• Frequent false alerts—Lower sensitivity; narrow threshold categories; recalibrate with fresh data.
• Slow performance—Update to latest version; clear app cache; ensure device meets specs.
Personalized rash detector settings turn a one-size-fits-all tool into a bespoke skin-health companion. By calibrating sensitivity, thresholds, and monitoring frequency to your unique profile, you unlock higher detection accuracy, fewer false alarms, and timely insights. Update and test your personalized rash detector settings regularly to keep your skin monitoring smart, relevant, and proactive.
For example, apps like Rash Detector let you tweak sensitivity, thresholds, and reminders in just a few taps.
FAQ
Can the app distinguish between different rash types?
Yes. AI-driven image analysis plus questionnaires help classify contact dermatitis, hives, ringworm, etc. Always confirm serious patches with a dermatologist.
Is my data secure?
Most leading apps use on-device analysis and local storage. Your photos never leave your phone unless you export them, and encryption keeps data safe.
How often should I recalibrate my settings?
Revisit whenever your health or environment changes—new allergies, seasonal shifts, or treatments. As a rule, recalibrate every 3–6 months.
How do I share my rash data with my doctor?
Use the app’s export tool to save a PDF or CSV of your timeline, images, and trend graphs. Email or print before your appointment.