How to Check Your Skin for Rashes: A Step-by-Step Guide
Learn how to check your skin for rashes with this step-by-step guide. Spot early signs and improve skin health to stay safe and prevent issues.
Estimated reading time: 10 minutes
Key Takeaways
- Establish a monthly routine to thoroughly scan every area of your skin.
- Identify common rash types—from eczema to fungal infections—and recognize key warning signs.
- Leverage essential tools (mirrors, smartphone camera) and photo-tracking to document changes accurately.
- Know when to seek professional medical advice to address severe, persistent, or unusual rashes promptly.
- Follow prevention tips—gentle cleansing, sun protection, and avoiding irritants—to keep your skin healthy.
Table of Contents
- Key Takeaways
- Table of Contents
- Understanding Skin Rashes
- Step-by-Step Self-Examination Guide
- Tools and Techniques for an Effective Skin Exam
- Identifying Potentially Concerning Rashes
- When to Seek Medical Advice
- Prevention and Maintenance Tips
- Conclusion
- FAQ
Understanding Skin Rashes
Before you learn how to check your skin for rashes, it’s key to understand what a rash is. A skin rash means any change in texture, color, or appearance of your skin. You may see redness, swelling, bumps, blisters, or odd patterns. Rashes can feel itchy or painful.
- Infections (bacterial, viral, fungal)
- Allergies (foods, medications, plants)
- Irritants (soaps, detergents, chemicals)
- Immune reactions (autoimmune conditions)
- Underlying illnesses (liver disease, diabetes)
Prevalent rash types and their looks:
- Eczema: Dry, scaly patches that itch. Often on elbows or knees.
- Hives (urticaria): Raised, red welts that move around the body. Often itchy.
- Fungal infections: Flaky, ring-shaped patches (ringworm). Can be red or brown.
- Contact dermatitis: Red or blistered area where skin touched a trigger.
For more details, see the PubMed Central study on rash identification.
Step-by-Step Self-Examination Guide
A consistent routine makes it easier to spot changes. Aim to do a self-exam once a month. The best time is after a shower or bath in a well-lit room.
Timing and environment:
- Monthly checks, on the same date each month
- After bathing, when skin is clean
- In a room with bright, natural or white light
Follow these steps:
- Face and Scalp
Use a hand mirror or part your hair with a comb or blow dryer. Look around ears, hairline, temples, and scalp. Tilt your head up and down to see creases. - Neck and Torso
Check the front and back of your neck. On your chest and abdomen, look for new spots. Women: lift breasts to inspect the skin underneath. - Arms and Hands
Examine both sides of arms and underarms. Look at palms, between fingers, and under fingernails. Rotate wrists to view all angles. - Legs and Feet
Sit down and check the front and back of legs. Inspect calves, thighs, and knees. Look at soles, tops of feet, between toes, and toenails. - Hard-to-See Areas
Use a full-length mirror and a handheld mirror together. Check your back, buttocks, back of thighs, and genital area. Don’t forget behind the knees and under folds of skin.
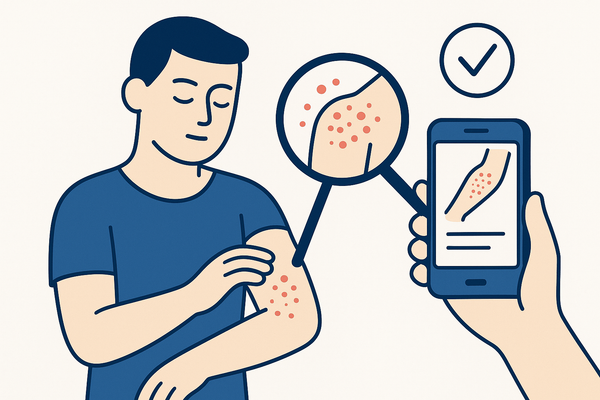
Photo-Tracking Tips:
- Take clear photos of any new or changing spots.
- Label photos with date and body part.
- See rash tracking tips for date-based documentation.
Following this guide helps you learn how to check your skin for rashes with confidence. For further reading, see the Melanoma self-exam guide, the American Cancer Society skin exams, or the Good Less Dermatology self-exam guide.
Tools and Techniques for an Effective Skin Exam
Using the right tools makes your self-exam easier and more accurate.
Essential tools list:
- Full-length mirror: to see most of your body at once
- Handheld mirror: to check your back and hard-to-see areas
- Chair or stool: to sit while checking lower legs and feet
- Comb or blow dryer: for parting hair and viewing scalp
- Strong light: natural sunlight or bright white bulbs
Supplementary techniques:
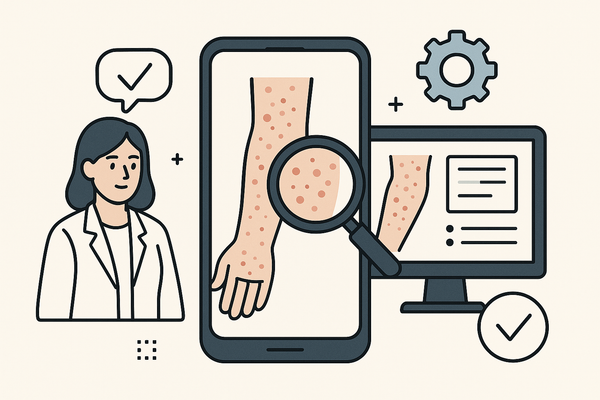
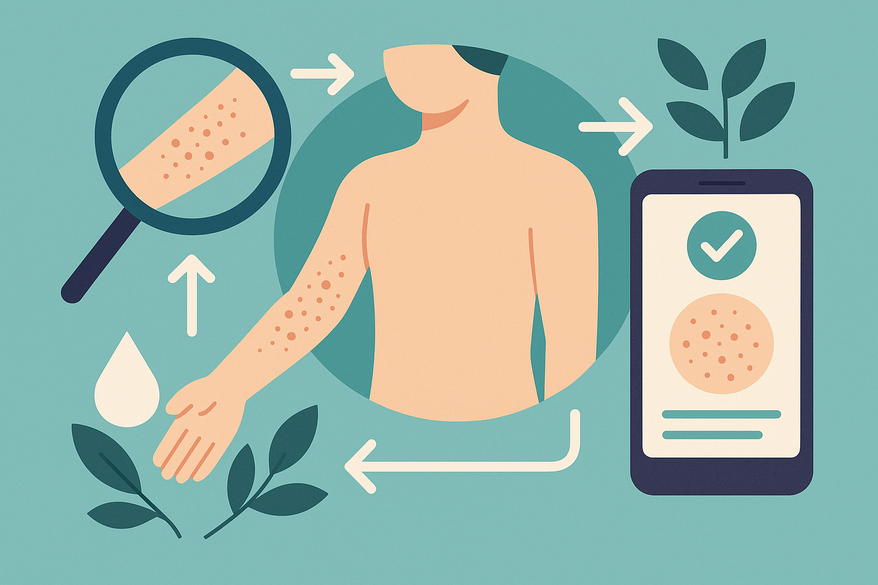
- Smartphone camera or a dedicated app:
Use grid lines to center the spot in each photo. See clear rash photo tips for professional results. - Capture images in good light, with a ruler for scale if possible.
- Telemedicine consultations:
Upload clear images to your doctor’s portal. Ensure close-up and wide-angle shots of the spot.
Enlisting help:
- Ask a trusted friend or partner to check blind spots.
- Show them how you scan your skin.
- A second pair of eyes can spot changes you might miss.
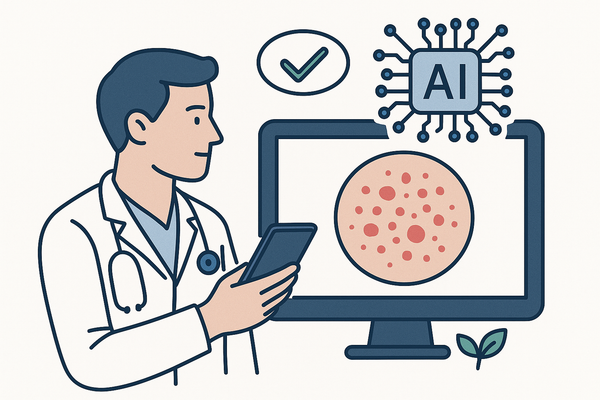
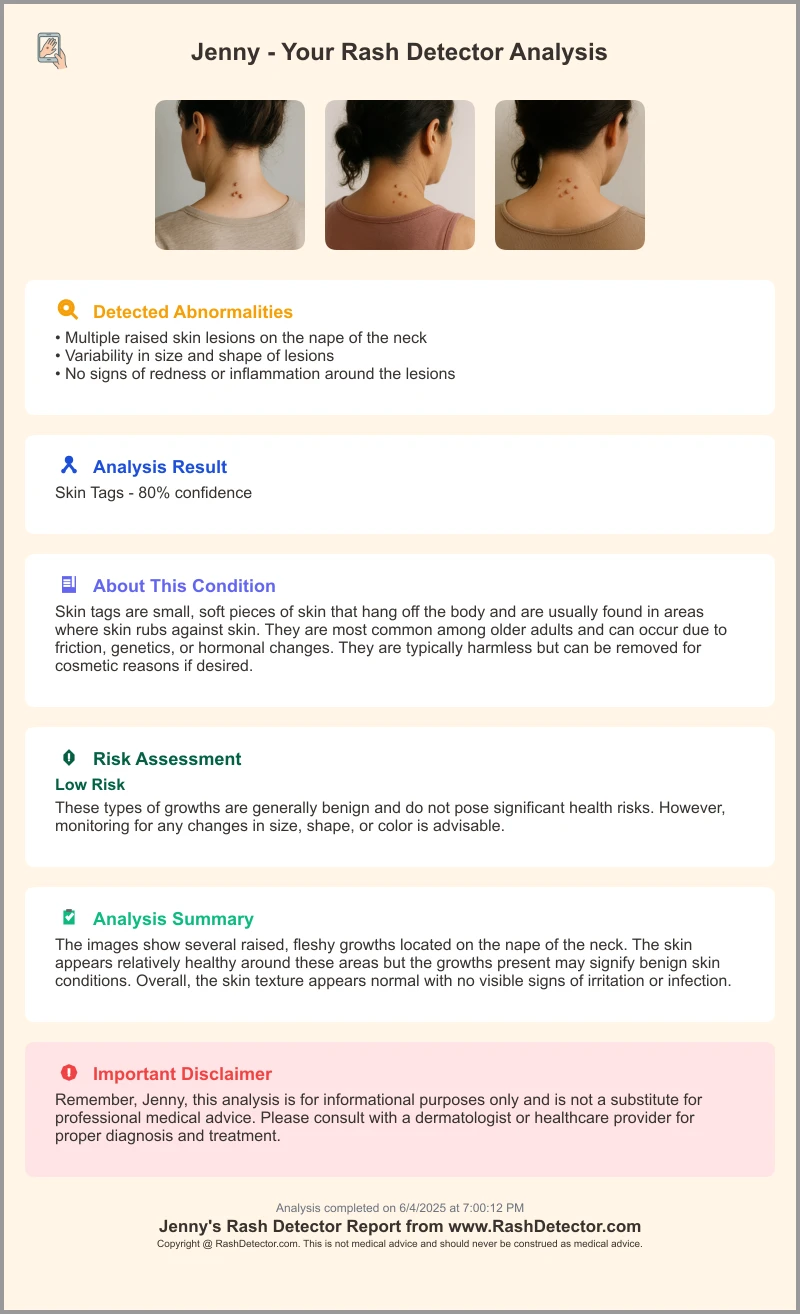
Also, you can leverage the Rash Detector app to upload images of your rash and receive an AI-generated sample report in seconds.
For more guidance, see the Melanoma self-exam guide and the American Cancer Society skin exams.
Identifying Potentially Concerning Rashes
Not all rashes are serious. But some signs need quick action.
Warning signs to watch for:
- Changes in size, shape, or color
- Rapid growth or spreading
- Irregular borders or uneven edges
- Ulceration, open sores, or non-healing areas
- Pain, bleeding, or oozing
- Systemic symptoms like fever, fatigue, or joint pain
Benign vs. Concerning:
Benign rashes (e.g., mild eczema): usually small, stable, and respond to lotion or antihistamines.
Concerning rashes: persist for weeks, get worse, or do not improve with home care.
ABCDE Rule for Melanoma-Like Lesions:
- Asymmetry: one half differs from the other.
- Border: edges are scalloped or irregular.
- Color: more than one shade of brown, tan, black, red, or white.
- Diameter: larger than 6 mm (about the size of a pencil eraser).
- Evolution: shape, size, or color changes over time.
Knowing these warning signs helps you decide when to act. Refer to the PubMed Central study for more details.
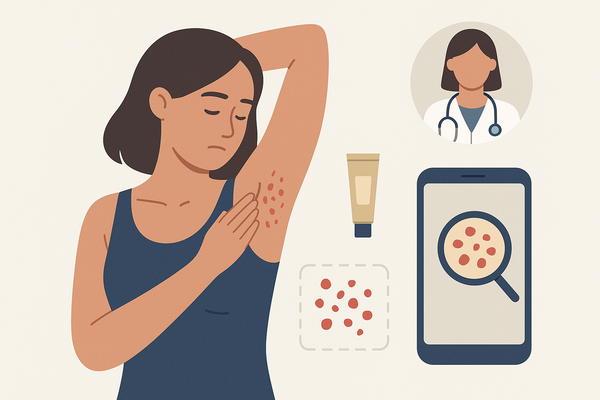
When to Seek Medical Advice
Some rashes need a doctor’s care. Here is when to reach out.
Criteria for referral:
- Sudden, severe, or rapidly spreading rash.
- Blisters or signs of infection: pus, warmth, increased redness.
- Persistent spots that bleed or do not heal within two weeks.
- Rashes with pain, fever, chills, or fatigue.
Preparing for your appointment:
- Gather photos and notes: dates, location on the body, and changes over time.
- List any new products, medications, or exposures (plants, pets).
- Note past history: family skin cancer, chronic skin conditions.
Scheduling tips:
- Call a dermatologist or your primary care provider.
- Ask if a telemedicine visit is available for initial review.
- In urgent cases (rapid spread, severe pain), seek immediate care.
Knowing when to seek medical advice can prevent serious issues from getting worse. For guidance, see the PubMed Central study and the Massey Cancer Center article.
Prevention and Maintenance Tips
Keeping your skin healthy lowers rash risks. Here are simple ways to prevent problems.
Daily skincare routine:
- Cleanse gently with soap-free or mild cleansers.
- Pat skin dry—avoid harsh rubbing.
- Moisturize daily with fragrance-free lotion or cream.
Sun protection measures:
- Apply broad-spectrum sunscreen SPF 30+ every day, even on cloudy days.
- Reapply every two hours when outdoors.
- Wear wide-brim hats, long sleeves, and sunglasses.
- Seek shade from 10 a.m. to 4 p.m., when UV rays are strongest.
Avoid known irritants and allergens:
- Patch test new soaps, lotions, and laundry detergents on a small skin area.
- Wear gloves when handling cleaning chemicals or plants.
Prompt care for minor wounds:
- Clean cuts and insect bites right away.
- Apply an antibiotic ointment and a bandage.
- Monitor for signs of infection: redness, warmth, swelling.
These prevention and maintenance tips help you keep your skin rash-free. For more information, see the American Cancer Society skin exams and the PubMed Central study.
Conclusion
You now know how to check your skin for rashes in simple steps. You learned what rashes look like and which signs to watch for. With the right tools, regular self-exams become routine. Remember to track any changes with photos or notes. Use sun protection and a gentle skincare routine to prevent problems.
Early detection of concerning rashes can be life-saving. Make a monthly self-exam part of your health plan. If you spot anything new or changing, reach out for medical advice right away. Your skin is your body’s largest organ—give it the care and attention it deserves.
Stay vigilant, stay safe, and check regularly.
FAQ
How often should I check my skin for rashes?
Monthly checks are recommended. High-risk individuals (family history of skin cancer) may check every two weeks. See the Massey Cancer Center article.
What if I notice something new or changing?
Document with photos, notes, and dates. If it lasts more than two weeks or worsens, seek medical advice.
Are phone apps reliable for skin checks?
Apps help you track and organize photos. They are not a substitute for a professional exam.
What if I can’t see certain areas?
Use a hand mirror and full-length mirror together. Ask a partner or friend to help. During haircuts, request a scalp check from your stylist. For guidance, see the Melanoma self-exam guide and the Massey Cancer Center article.
Where can I find trusted resources?
American Cancer Society (ACS)
National Dermatology Societies
PubMed Central (PMC) articles on skin health