10 Best Practices for Mobile Rash Imaging: A Complete Guide for Clear, Clinical-Grade Photos
Discover essential best practices for mobile rash imaging to capture clear, clinical-grade photos that enhance teledermatology and improve patient outcomes.
8 min read
Key Takeaways
- Use consistent, soft lighting and neutral backgrounds for accurate color and texture.
- Keep the smartphone steady with manual focus, high resolution, and macro lenses for detail.
- Center and compose both overview and close-up shots with a measurement scale.
- Secure images via encrypted, compliant storage and obtain informed consent.
- Troubleshoot common issues like poor lighting, shaky hands, and distracting backgrounds.
Table of Contents
- Understanding Mobile Rash Imaging Best Practices
- Equipment & Device Guidelines
- Best Practices for Mobile Rash Imaging
- Technical & Safety Best Practices
- Troubleshooting Best Practices
- Conclusion
Section 1: Understanding Mobile Rash Imaging Best Practices
High-quality rash photographs reveal key clues—distribution, color, shape, and texture—that help doctors make accurate diagnoses. Low-quality images risk misdiagnosis, repeat visits, or delayed treatment.
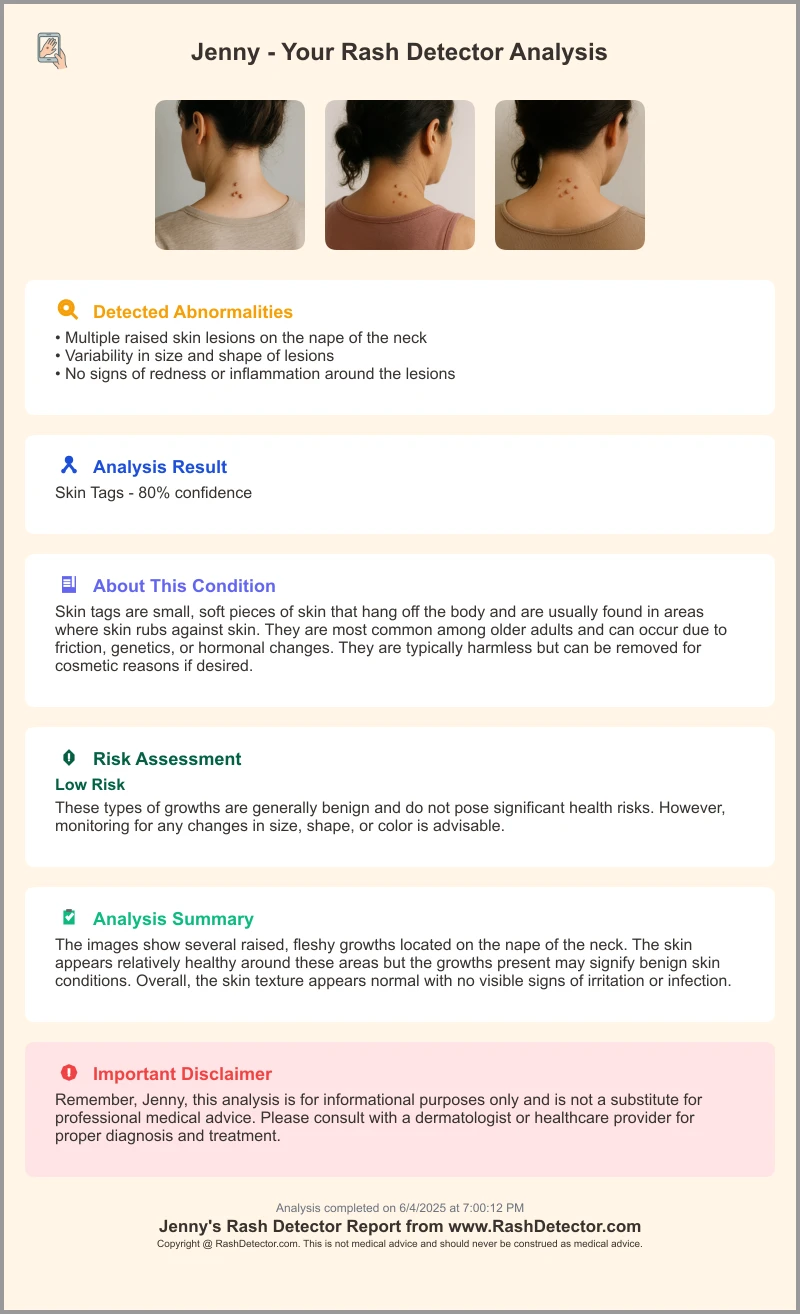
Why Good Rash Pictures Matter
- Show rash spread and pattern (e.g., clustered vs. scattered).
- Preserve true skin tone and lesion details (flat vs. raised).
- Provide a record for tracking changes over time.
Consequences of Poor Images
- Blurry or out-of-focus photos lead to guesswork.
- Inconsistent lighting hides color shifts or scaling.
- Distracting backgrounds confuse the eye.
- Digital zoom pixelates and blurs tiny lesions.
- Skill variation among users affects image value.
Common Challenges and Pitfalls
- Shaky hands or wrong focus point causing blur.
- Mixed or low light washing out detail.
- Busy backgrounds eliminating contrast.
- Over-zooming instead of moving closer.
- Lack of scale or anatomical context.
Section 2: Equipment & Device Guidelines for Mobile Rash Imaging Best Practices
Most modern smartphones have built-in cameras good enough for clinical rash photos. Key is to know how to set them up and what extras can help.
Smartphone Camera Essentials
- High resolution (12+ megapixels) for fine detail.
- manual focus or tap-to-focus feature.
- Exposure control to adjust brightness.
- Optical image stabilization or gyro support.
Ideal Camera Settings
- Resolution: Always pick the maximum photo size.
- Focus: Tap directly on the rash area before shooting.
- Exposure/Brightness: Slide up or down to avoid dark shadows or blown-out highlights.
- Zoom: Skip digital zoom. Instead, use macro lens attachments or physically move the camera closer.
Recommended Accessories
- Macro lens clip-ons for close-up views of small lesions.
- Phone tripods or mini stands to steady the device.
- Portable LED ring lights or diffusers to even out shadows.
Section 3: Best Practices for Mobile Rash Imaging
Capturing a clear, clinical-grade rash photo depends on lighting, background, positioning, and a simple workflow. These best practices for mobile rash imaging ensure consistent, high-quality results.
Lighting Guidelines
- Use soft, indirect natural light (e.g., near a north-facing window) for true color. For more on choosing the right setup, see optimal lighting setup.
- Indoors, choose two diffused lamps on either side of the rash to avoid harsh shadows.
- Never mix daylight and fluorescent bulbs—mixed light creates color casts.
Background Selection
- Opt for a plain, neutral backdrop: white sheet, light grey wall, or neutral drape.
- Avoid patterns or busy textures that divert attention from the rash.
Patient and Camera Positioning
- Center the rash in the frame and keep the camera parallel to the skin surface.
- Capture both overview and close-up images:
- Overview: Shows location on the body (e.g., arm crease, thigh).
- Close-up: Highlights lesion morphology—scale, pustules, vesicles.
- Include a measurement scale (ruler or coin) next to the rash for size reference.
Step-by-Step Capture Workflow
- Clean the camera lens with a microfiber cloth.
- Switch to the highest resolution or “HD” mode.
- Prepare a plain backdrop and good light source.
- Ask the patient to expose the rash and cover other areas for privacy.
- Hold the camera about 30 cm (12 in) from the rash and tap to focus.
- Take a wide shot showing the rash’s position on the body.
- Move in for a close-up, using a macro lens if needed.
- Review photos immediately—retake any that are blurry or poorly lit. For more capture tips, check rash photo capture tips.
Section 4: Technical & Safety Best Practices for Mobile Rash Imaging
Beyond good photos, you need to secure and manage images properly to protect patient privacy and ensure compliance.
Image Stabilization
- Use two hands, rest elbows on a table, or employ a phone tripod.
- Enable built-in optical or electronic image stabilization if available.
File Format & Secure Storage
- Save images as high-quality JPEG or PNG files to balance quality and file size.
- Use encrypted, HIPAA- or GDPR-compliant cloud services for storage (e.g., hospital PACS or secure telederm apps). For detailed data security guidelines, see data security guidelines.
Confidentiality & Consent
- Obtain written or verbal informed consent before photographing.
- De-identify images by excluding faces, unique tattoos, or jewelry unless clinically necessary.
- Transfer images via secure, encrypted channels—avoid unsecured email or messaging apps.
Section 5: Troubleshooting Best Practices for Mobile Rash Imaging
Even with preparation, issues can arise. These quick fixes will get you back on track.
Poor Lighting
- Move the patient closer to natural window light or add a soft desk lamp.
- Use a diffuser (white cloth or tracing paper) in front of harsh bulbs.
Unsteady Hands
- Switch to burst mode to capture multiple frames and pick the sharpest.
- Mount the phone on a tripod or lean against a stable surface.
Distracting Backgrounds
- Drape a plain sheet behind the patient or reposition against a blank wall.
- Zoom out for an overview, then crop in post-production to focus on the rash.
Loss of Detail from Zoom
- Physically move the camera closer rather than using digital zoom.
- Use clip-on macro lenses for tiny lesions or scaling.
Quick Fixes
- Immediately review and retake any subpar shots.
- Crop images afterward instead of live zoom to preserve pixel integrity.
Conclusion: Best Practices for Mobile Rash Imaging
Capturing accurate, high-quality rash images hinges on good lighting, steady focus, proper composition, and strong privacy safeguards. Adhering to these best practices for mobile rash imaging enhances diagnostic accuracy, speeds treatment, and upholds patient trust. Implement these guidelines in daily teledermatology workflows to see clearer images, safer data handling, and better patient outcomes.
Additional Resources:
- Primary Care Dermatology Society photography guide
- VisualDx AI-supported rash analysis and image library
- BAD/AAD guidelines on device use, data security, and consent
Call-to-Action
Share your experiences or ask questions about mobile rash imaging in the comments. Your feedback helps refine and advance these best practices for clear, clinical-grade rash photography.
FAQ
How do I ensure proper lighting for rash photos?
Use soft, indirect natural light near a window or two diffused lamps indoors. Avoid mixing light sources to prevent color casts.
What steps protect patient privacy when capturing rash images?
Obtain informed consent, exclude identifying features, and store images on encrypted, HIPAA- or GDPR-compliant platforms.
Which camera settings deliver the best detail?
Select the highest resolution, tap to focus on the rash, avoid digital zoom, and consider a macro lens for close-ups.


