7 Essential Rash Detector App Troubleshooting Tips for Accurate Skin Analysis
Discover 7 essential rash detector app troubleshooting tips for accurate skin analysis, ensuring reliable AI-driven results and improving user experience.
Estimated reading time: 8 minutes
Key Takeaways
- Regular updates: Keep the app and AI models current with bug fixes and enhancements.
- Camera calibration: Ensure clear, well-lit photos by cleaning the lens and using proper lighting.
- Permission checks: Verify camera, storage, and network access along with battery and storage settings.
- Reboot & reinstall: Clear corrupted files and refresh app data when issues persist.
- Network stability: Use a reliable connection or switch between Wi-Fi and cellular as needed.
- Advanced diagnostics: Gather logs, crash reports, and device info for detailed bug reports.
- Preventive care: Automate updates, clear cache monthly, audit permissions quarterly, and back up data.
Table of Contents
- Introduction
- Understanding the Rash Detector App
- Identifying Common Issues
- Core Troubleshooting Tips
- Advanced Troubleshooting
- Preventive Troubleshooting
- Conclusion
- FAQ
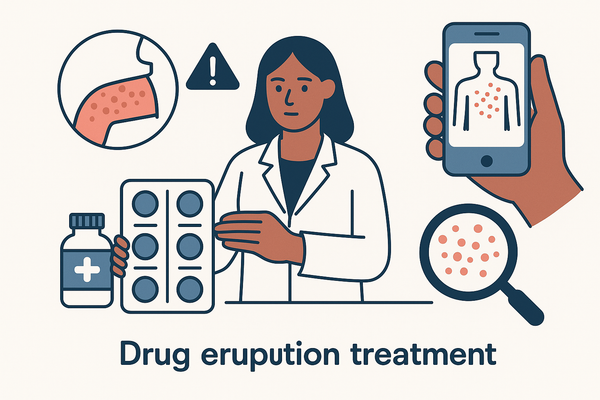
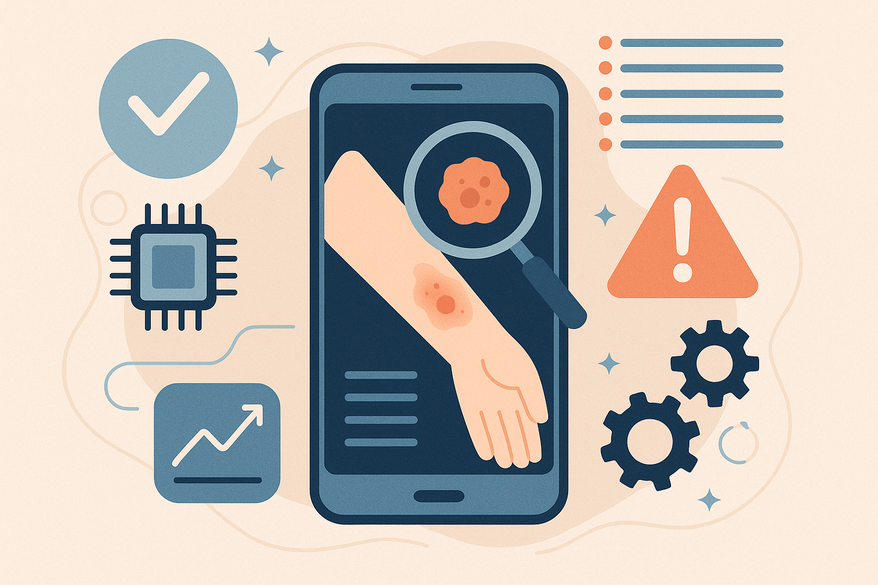
A rash detector app is a mobile application that uses AI-driven image recognition to analyze photos of skin rashes and deliver preliminary diagnoses. In this guide, we share rash detector app troubleshooting tips to keep your scans accurate and reliable. Proper troubleshooting helps you trust results, supports early diagnosis, and ensures consistent performance for healthcare providers and everyday users alike.
Additionally, for a quick AI-driven assessment you can try Rash Detector and see how adjustments in image quality and settings improve your report accuracy.
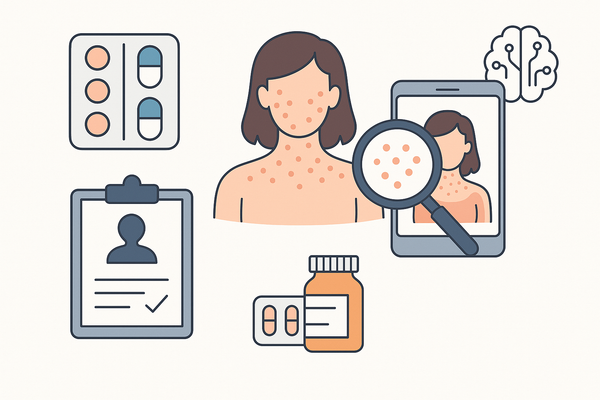
Understanding the Rash Detector App
The app relies on AI and image-processing to scan skin. Here’s how it typically works:
- Photo capture or upload
- User snaps or imports a high-resolution image of the rash area.
- AI analysis
- Algorithms examine color, texture, and pattern.
- Follow-up symptom questions add context.
- Instant results
- Quick skin scans identify possible conditions in seconds.
- Detailed recommendations
- Personalized care tips guide users on next steps.
- Symptom tracking
- Monitor rash changes over time with a built-in symptom tracker.
- Interactive guidance
- An AI assistant answers questions and offers clarifications.
Reliability matters. Incorrect readings erode confidence and can delay proper medical care. Healthcare professionals depend on consistent accuracy in clinical settings.
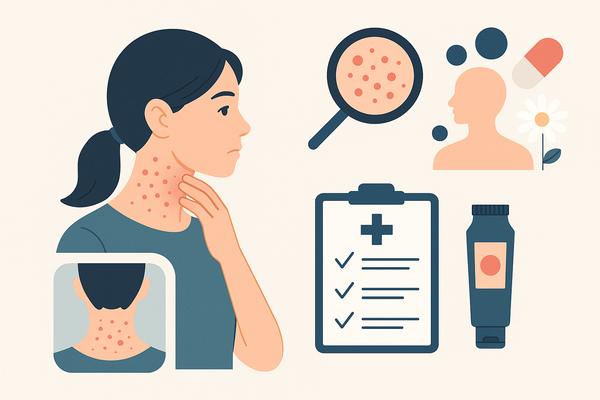
Identifying Common Issues
Users report these top problems when using a rash detector app:
- Inaccurate readings
- App mislabels different skin conditions as the same rash.
- Cause: AI model bugs or poor image quality.
- Delays or processing errors
- Scans hang or fail to complete.
- Cause: Older device hardware, low RAM, or slow network.
- UI glitches or crashes
- Buttons freeze; app suddenly closes.
- Cause: Software bugs or memory leaks.
- Data privacy concerns
- Fear that images and health data are stored in the cloud without consent.
- Cause: No clear on-device processing fallback.
- Camera or photo access issues
- App can’t open camera or import saved photos.
- Cause: Denied permissions or device restrictions.
Understanding these issues and their root causes sets you up for faster fixes and more reliable AI-powered skin checks.
Core Rash Detector App Troubleshooting Tips
Here are five step-by-step tips to restore accuracy and stability:
Tip 1: Check for App Updates
How-to:
- Open the App Store or Google Play Store.
- Go to Updates or My Apps.
- Pull down to refresh and tap “Update” next to your rash detector app.
Tip 2: Ensure Proper Device Calibration
- Clean the camera lens with a microfiber cloth.
- Keep hands steady or mount your phone on a tripod.
- Use bright, diffuse daylight. Avoid harsh shadows or glare. (See also optimal lighting guide.)
- Run any built-in calibration tool under Settings → Camera or Sensors.
Tip 3: Review and Adjust User Settings
Permissions:
- Settings → Apps → Your Rash Detector App → Permissions.
- Enable Camera, Storage, and Location.
- Turn off battery-saver mode for the app.
- Confirm at least 100 MB free storage for cache and temp files.
Tip 4: Reboot Device & Reinstall App
- Soft reset: Hold the power button then tap Restart.
- Backup any saved symptom history if supported.
- Uninstall then reinstall from the official store to clear corrupted files.
Tip 5: Verify Network & Connectivity
- Test on Wi-Fi vs. cellular. Switch networks if scanning stalls.
- Toggle Airplane Mode on/off to reset connections.
- Ensure at least 5 Mbps upload speed for cloud analysis. (More optimization ideas.)
Advanced Troubleshooting Tips and Techniques
When standard fixes fail, escalate with these advanced steps:
- Escalation criteria:
- Repeated failures after core tips.
- Persistent error codes or crash loops.
- Gather diagnostics:
- Note app version, OS version, and device model.
- Take screenshots of error messages with timestamps.
- Record steps taken before failure.
- Android log capture:
- Enable Developer Options → USB debugging.
- Use ADB Logcat to pull error logs.
- iOS crash reports:
- Settings → Privacy → Analytics & Improvements → Analytics Data.
- Locate your app’s crash entries.
- Bug report best practices:
- Clear summary of the issue.
- Step-by-step reproduction guide.
- Expected vs. actual behavior.
- Attach logs and screenshots.
- Support channels:
- Official app support portal or email.
- Community forums like Reddit or StackOverflow.
- In-app feedback forms.
Preventive Troubleshooting Tips to Avoid Future Issues
Maintain peak performance with a simple care plan:
- Regular updates: Enable automatic updates for both your app and OS.
- Monthly cache clears: Settings → Apps → Your App → Clear Cache.
- Quarterly permissions audit: Verify camera, storage, and network permissions remain active.
- Best practices for scans:
- Hold your device about 15 cm from the skin.
- Use a neutral background and consistent lighting. (More clear rash photo tips.)
- Close other running apps to free up memory before a scan.
- Backup strategy:
- Export symptom logs if supported.
- Sync data with a secure cloud backup to avoid loss on reinstall.
A proactive approach reduces downtime and keeps AI diagnoses sharp.
Conclusion
We’ve covered seven essential rash detector app troubleshooting tips:
- Update the app regularly.
- Calibrate your device and camera.
- Check and adjust permissions and settings.
- Reboot and reinstall when needed.
- Ensure stable network connectivity.
FAQ
- Q1: How often should I update my rash detector app?
- A: At least weekly or whenever a new version is released. Enable auto-updates to receive the latest fixes immediately.
- Q2: What lighting conditions yield the best scan quality?
- A: Use bright, even natural light. Avoid direct sunlight and harsh shadows for the most accurate AI analysis.
- Q3: Why does the app crash when uploading a large image?
- A: Large files can exceed memory limits. Resize images to 2 MB or smaller, or clear the app’s cache before retrying.
- Q4: Can I use the rash detector app offline?
- A: Basic symptom tracking may work offline, but AI image analysis often needs an internet connection for cloud-based model updates.
- Q5: How do I share diagnostic logs with customer support?
- A: On iOS, go to Settings → Privacy → Analytics & Improvements → Analytics Data. On Android, use ADB Logcat with USB debugging enabled. Attach these logs to your support ticket for faster resolution.