Beginner’s Guide to a Rash Detection App for Beginners
Discover the beginner’s guide to using a rash detection app. Learn what it is, how it works, and how it aids in managing skin health efficiently.
Estimated reading time: 8 minutes
Key Takeaways
- A rash detection app uses AI and your phone’s camera to analyze skin photos and suggest possible causes.
- Instant, data-driven feedback offers convenience and ease of sharing with healthcare providers.
- Follow a simple five-step process: download, set up, capture, input symptoms, and interpret results.
- Apps have benefits and limitations—use them as a supplement, not a replacement for professional diagnosis.
- Best practices in lighting, photo composition, and logging ensure accurate analysis and safe use.
Table of Contents
- Understanding Rashes
- Overview of Rash Detection Apps
- Step-by-Step Beginner’s Guide
- Benefits and Limitations
- Best Practices and Safety Tips
- Conclusion
- FAQ
Section 1: Understanding Rashes
A rash is any change in skin texture or color—think redness, bumps, scales, or blisters. Identifying a rash early can help you decide between self-care or seeking medical attention.
Common Causes of Rashes
- Allergic reactions: Contact with poison ivy, certain foods, or cosmetics.
- Infections: Bacterial (impetigo), viral (chickenpox), or fungal (ringworm).
- Heat and sweat irritation: Often called heat rash or prickly heat.
- Immune disorders: Eczema (atopic dermatitis) or psoriasis.
- Medication reactions: Some drugs trigger hives or redness.
Why Early Identification Matters
- Prevents the rash from worsening or spreading.
- Guides you to the right self-care steps or professional help.
- Speeds up recovery and reduces discomfort.
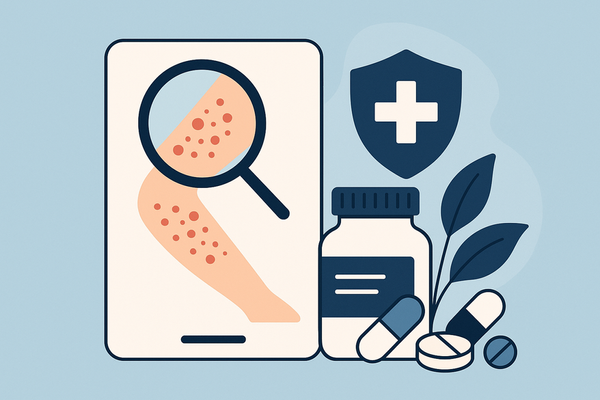
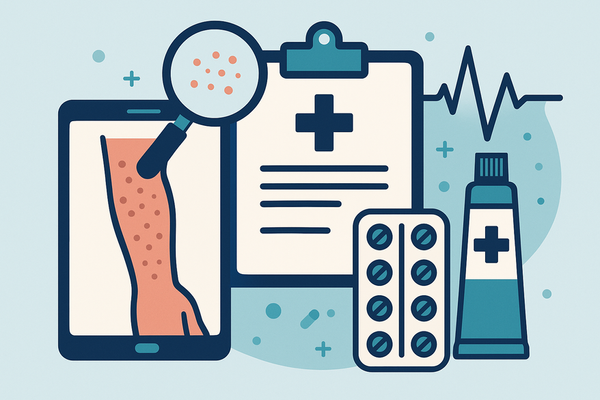
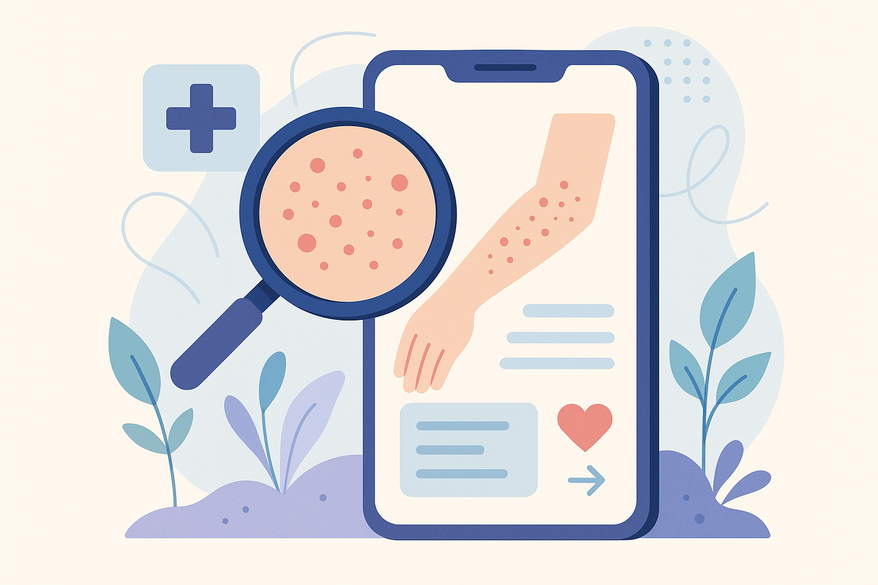
Section 2: Overview of Rash Detection Apps
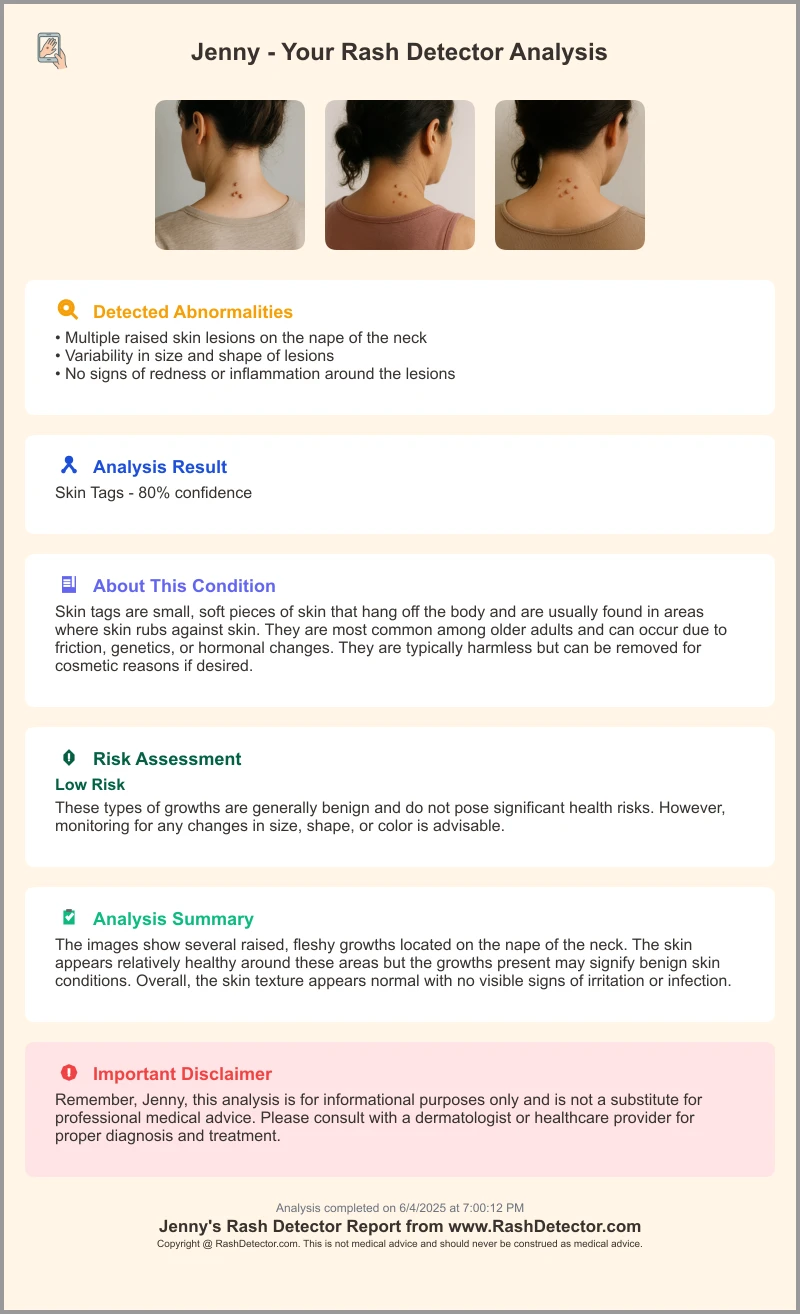
A rash detection app leverages advanced image recognition and AI to analyze your photos, compare them to a database of conditions, and offer:
- Probable diagnoses and care tips
- Symptom tracking with photo logs
- Interactive Q&A to refine results
- On-device processing for enhanced privacy
For example, the Rash Detector Skin Analysis App delivers a sleek interface and comprehensive reports in seconds.
Core Features
- Instant skin analysis: Rash ID on App Store
- Symptom input: add itchiness, pain level, or duration for tailored results via App Store
- Interactive AI chat: guided Q&A on the Rash ID website
- Symptom tracking: save photos and notes with AI Dermatologist on Google Play
- Data privacy: on-device processing by Aysa
Learn more and compare top apps.
Section 3: Step-by-Step Beginner’s Guide
Ready to try your first rash detection app? Just follow these steps:
- Download & Install
• Open the App Store (iOS) or Google Play (Android).
• Search for “Rash ID,” “Aysa,” or “AI Dermatologist: Skin Scanner.”
• Tap Install or Get to download. - Initial Setup
• Accept Terms & Privacy Policy.
• Grant camera access for on-device AI analysis.
• Create an account or continue as a guest. - Capturing Your Rash
• Use even, natural lighting—avoid harsh glare and shadows.
• Hold the phone 6–8 inches from the rash and tap to focus.
• Take multiple shots for larger areas.
• For more tips, see our photo tips. - Inputting Symptoms
• Select descriptors like “itchy,” “painful,” or “burning.”
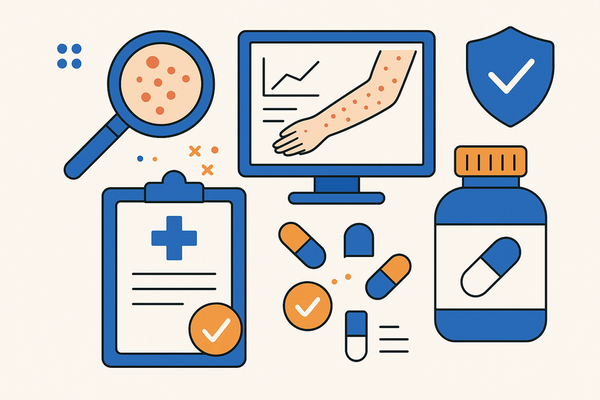
• Note how long it’s been present and any known triggers. - Reviewing Results
• Explore possible causes ranked by probability.
• Read care suggestions (e.g., hydrocortisone cream).
• Check the severity rating and follow up as needed.
• Remember: This is not a medical diagnosis, but a helpful guide. - Troubleshooting
• Restart the app or update if unresponsive.
• Clean the camera lens to avoid blur.
• Retake photos in better lighting.
• Visit the in-app FAQ or support.
Section 4: Benefits and Limitations
Benefits
- Quick self-assessment for new or worrying skin changes (App Store).
- Convenient digital tracking versus paper journals (Google Play).
- Clear guidance on when to self-treat or seek help (Aysa).
Limitations
- Not a substitute for clinical diagnosis—consult a professional if the rash worsens.
- Accuracy depends on photo quality and completeness of input.
- Rare conditions may not be in the app’s database.
Section 5: Best Practices and Safety Tips
Photo Best Practices
- Use consistent natural light—morning or late afternoon works best.
- Place a neutral background behind the rash.
- Hold the camera steady; crop afterward if needed.
Logging Routine
- Record dates and note any treatments tried.
- Track symptoms over time to spot trends.
Red-Flag Symptoms
- Fever with the rash.
- Rapid spread over large areas.
- Swelling of face, lips, or limbs.
- Severe pain or blistering.
If you notice any red-flag signs, seek immediate medical attention.
Use as a Supplemental Tool
- Treat the app as an aid, not a replacement for a doctor’s exam.
- Always follow up with a healthcare provider for serious, persistent, or worsening rashes.
Conclusion
You’ve learned how a rash detection app works, how to install and use one, and best practices for accurate results:
- What a rash detection app is and why it’s valuable.
- Steps to download, set up, capture images, and interpret feedback.
- Key benefits, limitations, and safety tips to keep in mind.
Ready to take control of your skin health? Try Rash ID, Aysa, or AI Dermatologist: Skin Scanner today for faster insights and peace of mind.
Further Resources
FAQ
- What is a rash detection app?
- It’s a smartphone tool that uses AI and computer vision to analyze skin photos and suggest possible causes and care tips.
- How accurate are these apps?
- Accuracy varies with photo quality, symptom details, and the app’s database; they’re helpful for self-assessment but not infallible.
- Can I rely solely on the app for diagnosis?
- No—these apps are supplements, not replacements for professional medical evaluation.
- What if the app flags a serious rash?
- If the app indicates severe or rapidly spreading symptoms, seek immediate medical attention.